You’ll be using the traditional tjanting that has a thick brass bowl which keeps the heat for longer. Paraffin wax is good for crackle and beeswax is good for making a sticky wax that soaks into the fabric. Vary the proportions according to what effect you’d like.
This blog post will show you how to teach it with confidence. See below for variations: The Next Level, Crackle Effect and Just Two Colours.
You will need:
- Ironing board and iron
- Wooden frame
- Wax pot
- Wax pellets (paraffin, beeswax 50:50)
- Fabric
- Bristle brushes for applying wax
- Tjantings
- Dyes or Brusho
- Dye fixer if using dyes
- Ice cube trays/pots
- Thick rag or paper towel for collecting wax drips
- Newspaper
- Sponges and paper towels
- Plastic bag for collecting excess wax
- Hairdryer
Instructions:
Step 1
First of all, make a simple design onto paper and then trace through onto the fabric with pencil.

Step 2
Put lots of newspaper down on the tables.
Step 3
Start melting the wax in the pot and put the tjanting in it to warm up too. It gets up to 104 degrees Celsius so warn students about the dangers of using hot things.
Step 4
Then stretch fabric onto the frame with pins. It should be nice and taut.
Step 5
It helps to prop the frame up at an angle. I used a large cardboard box.
Step 6
Once you’re ready, have your pad of fabric ready in your other hand and fill your tjanting about half-full.
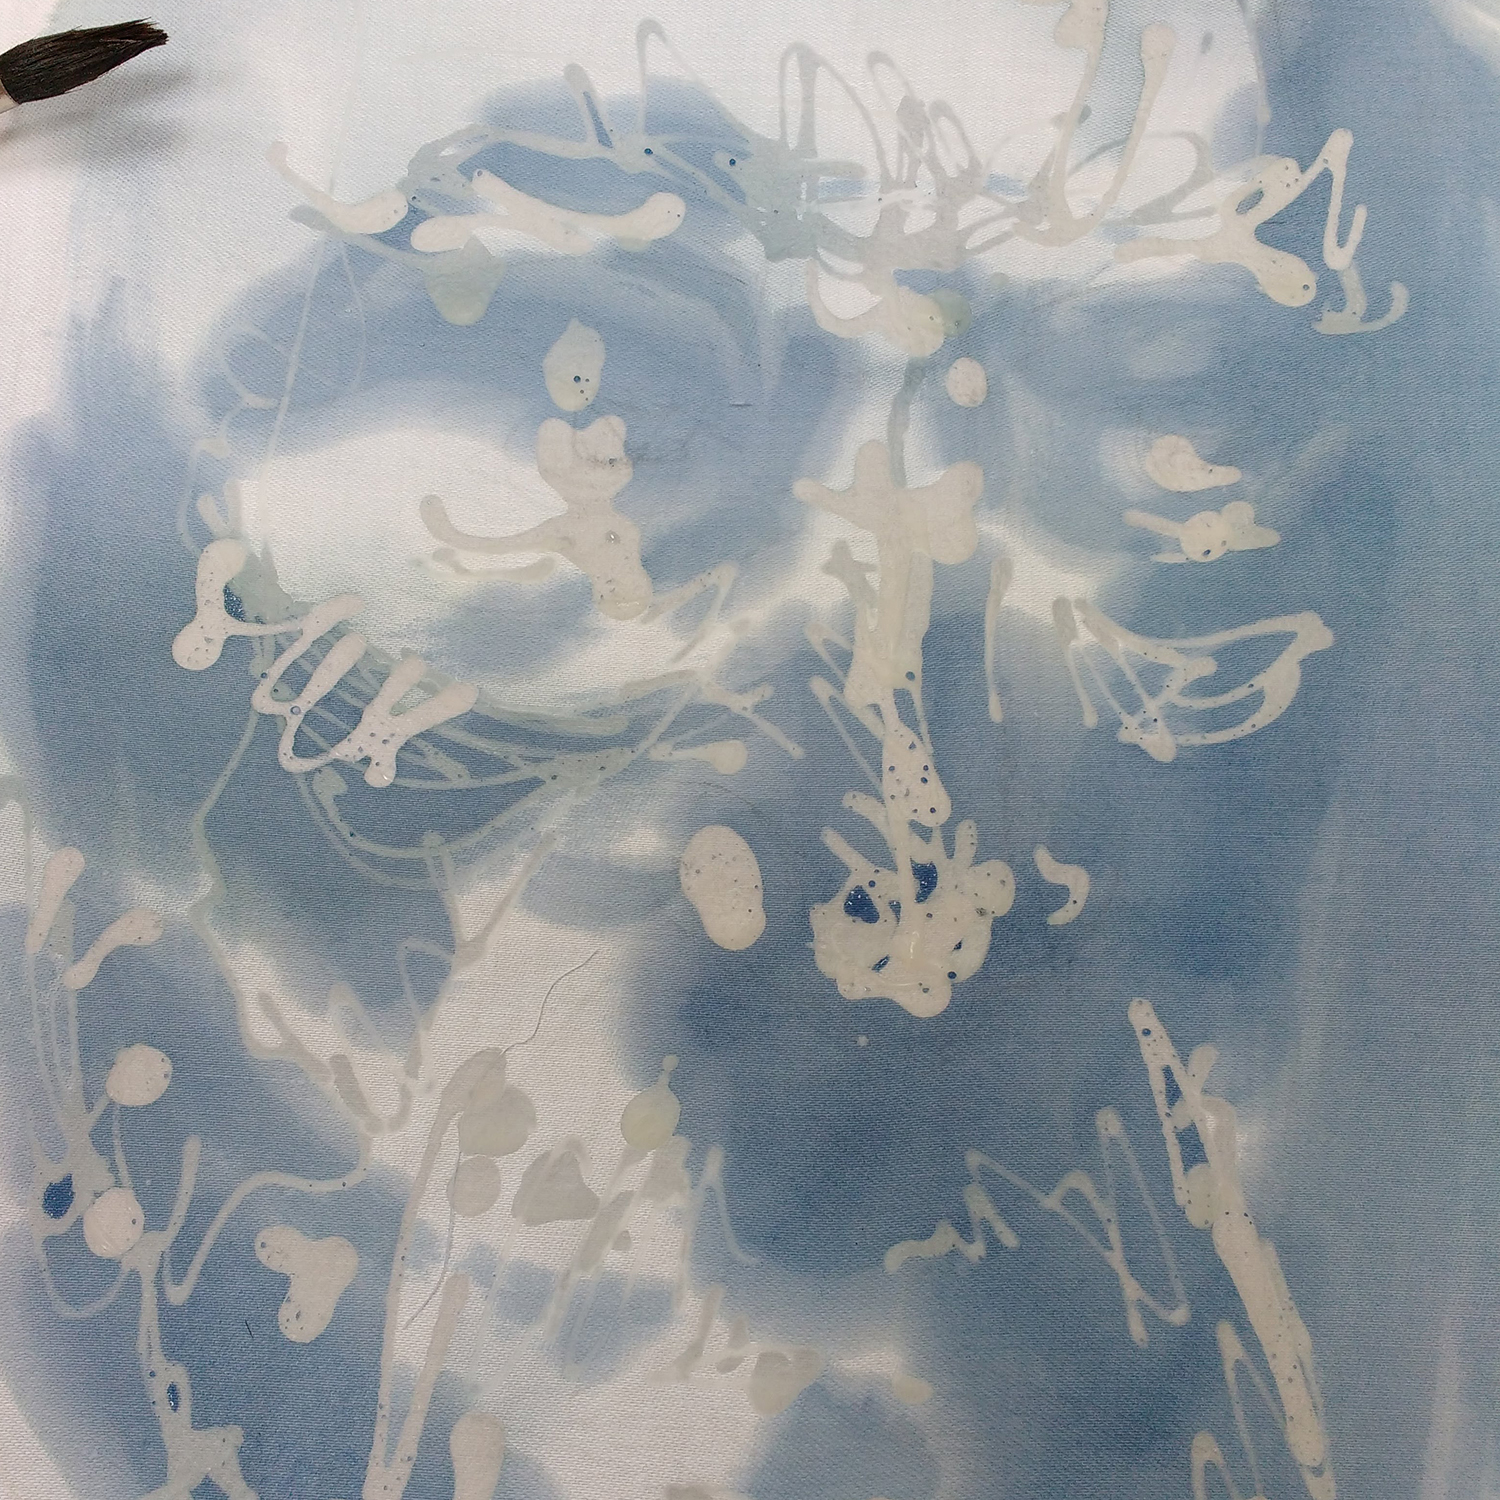
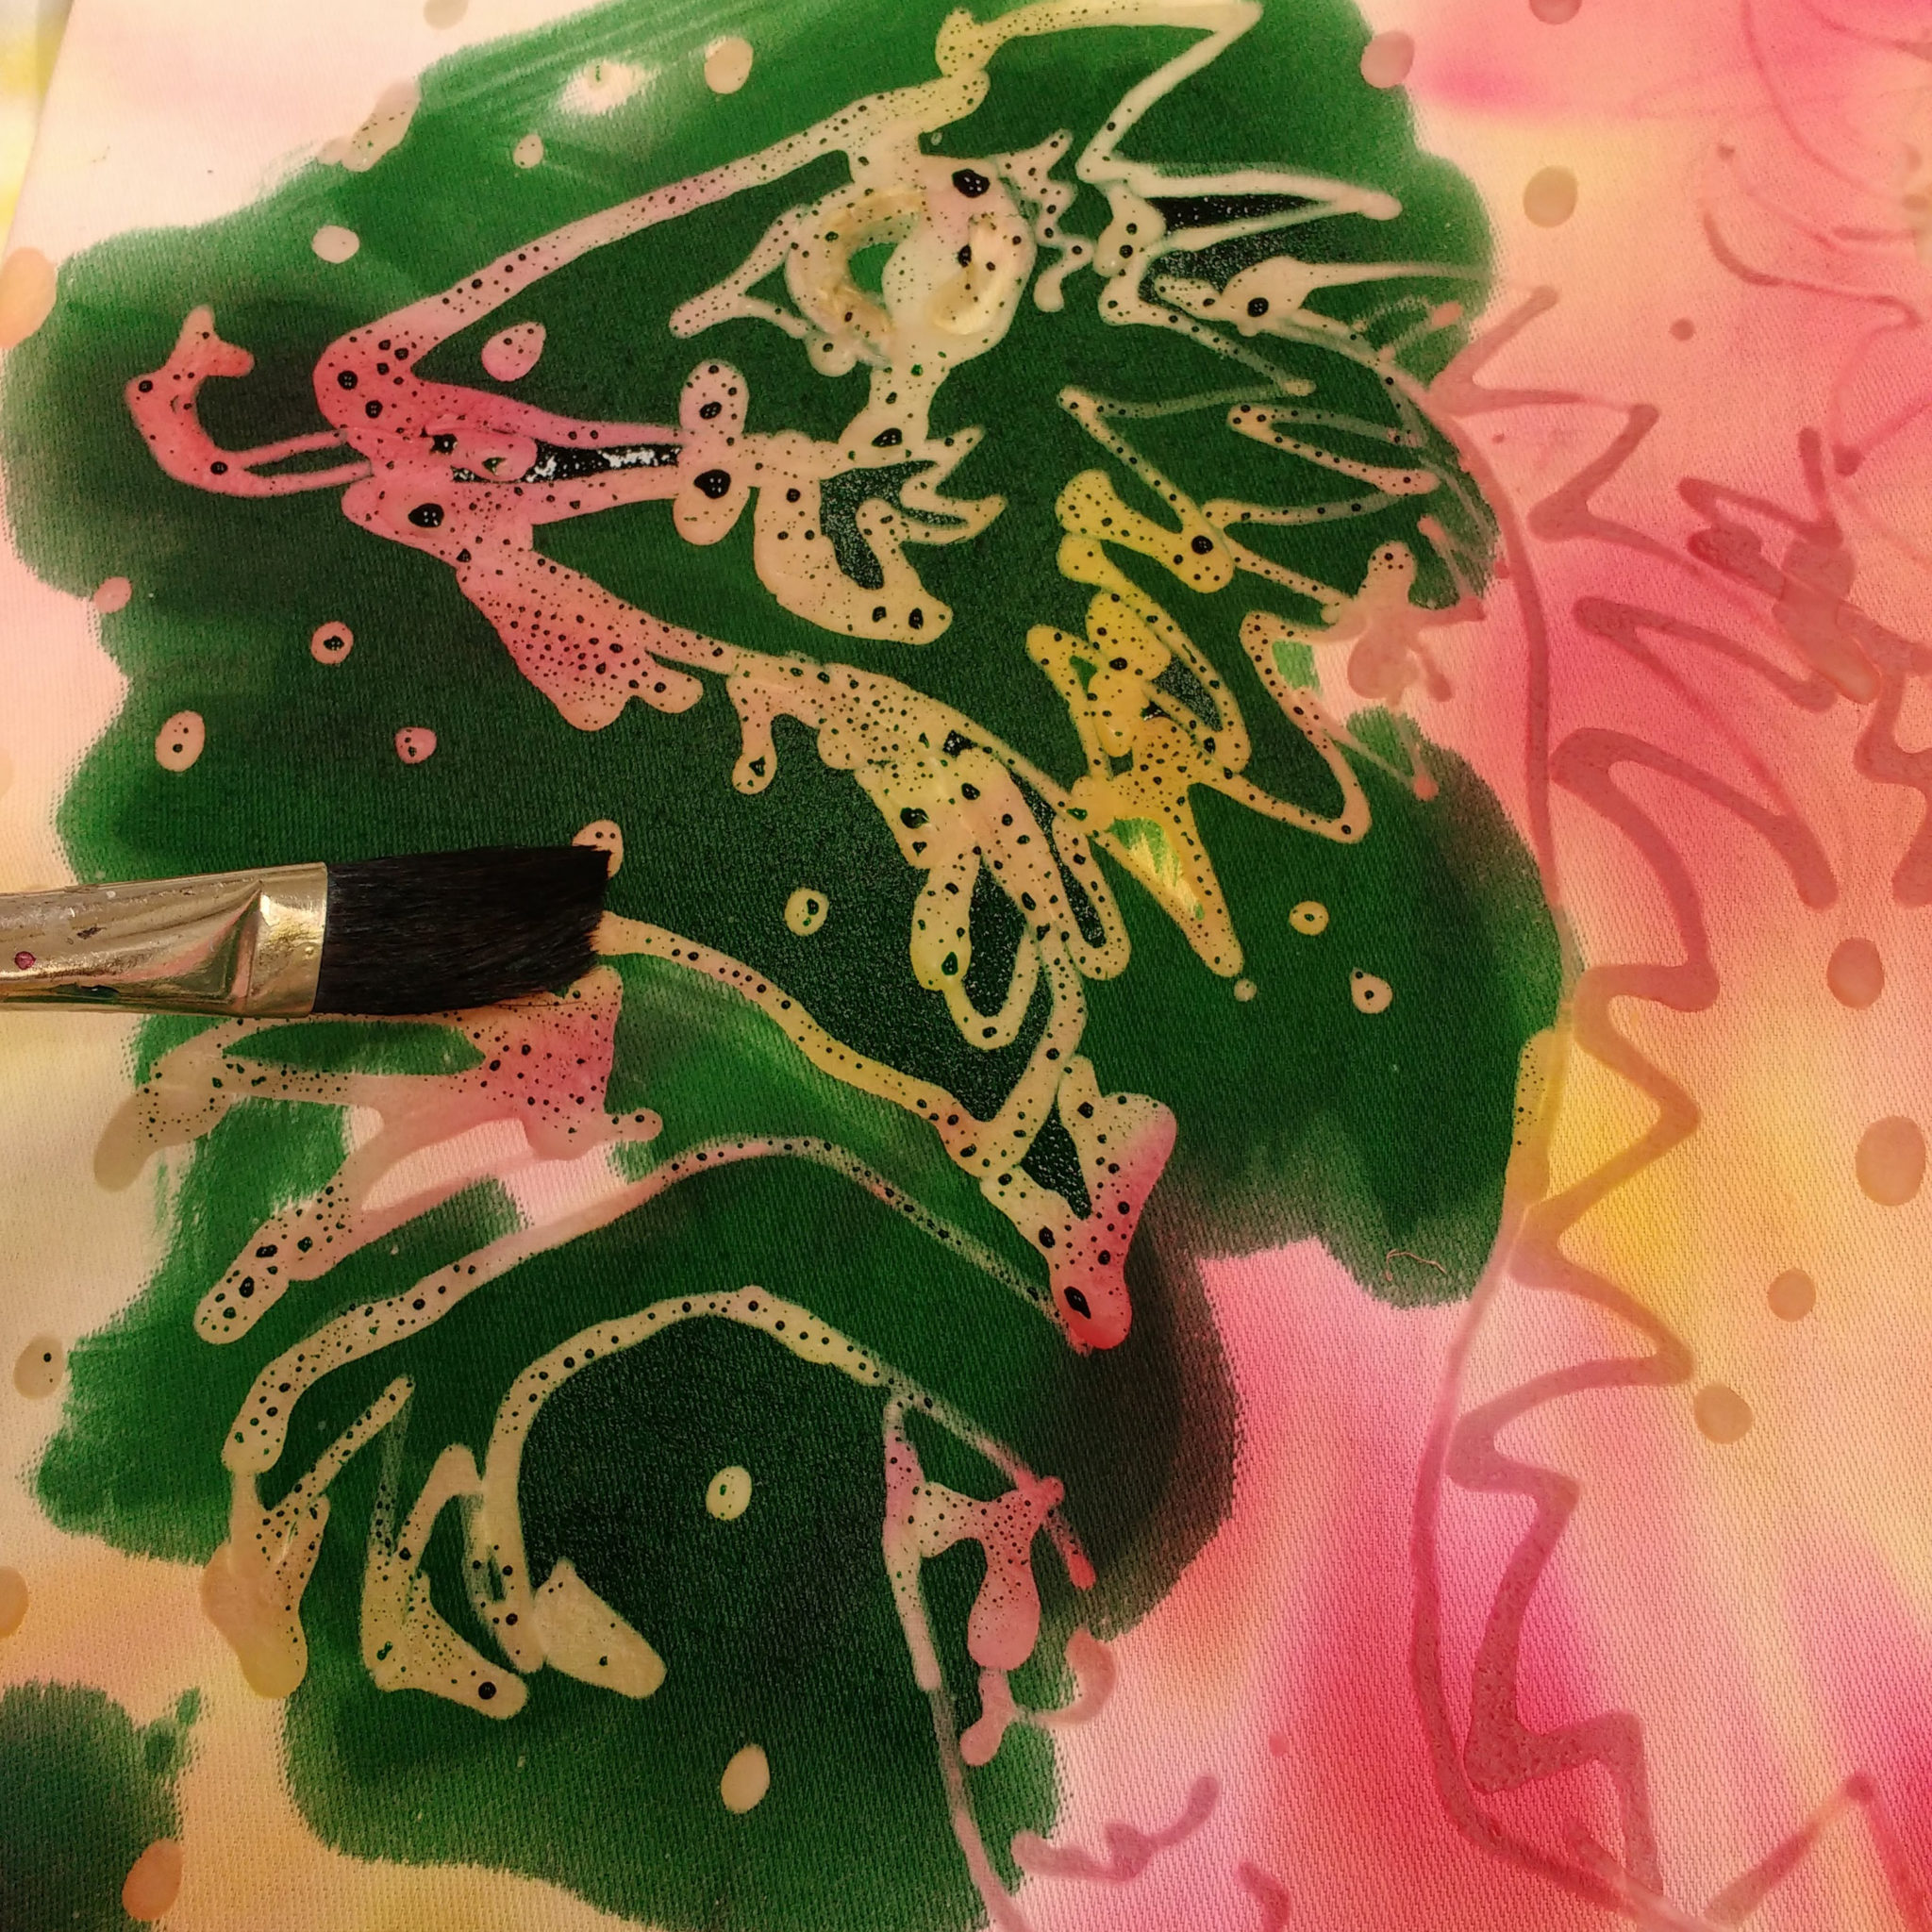
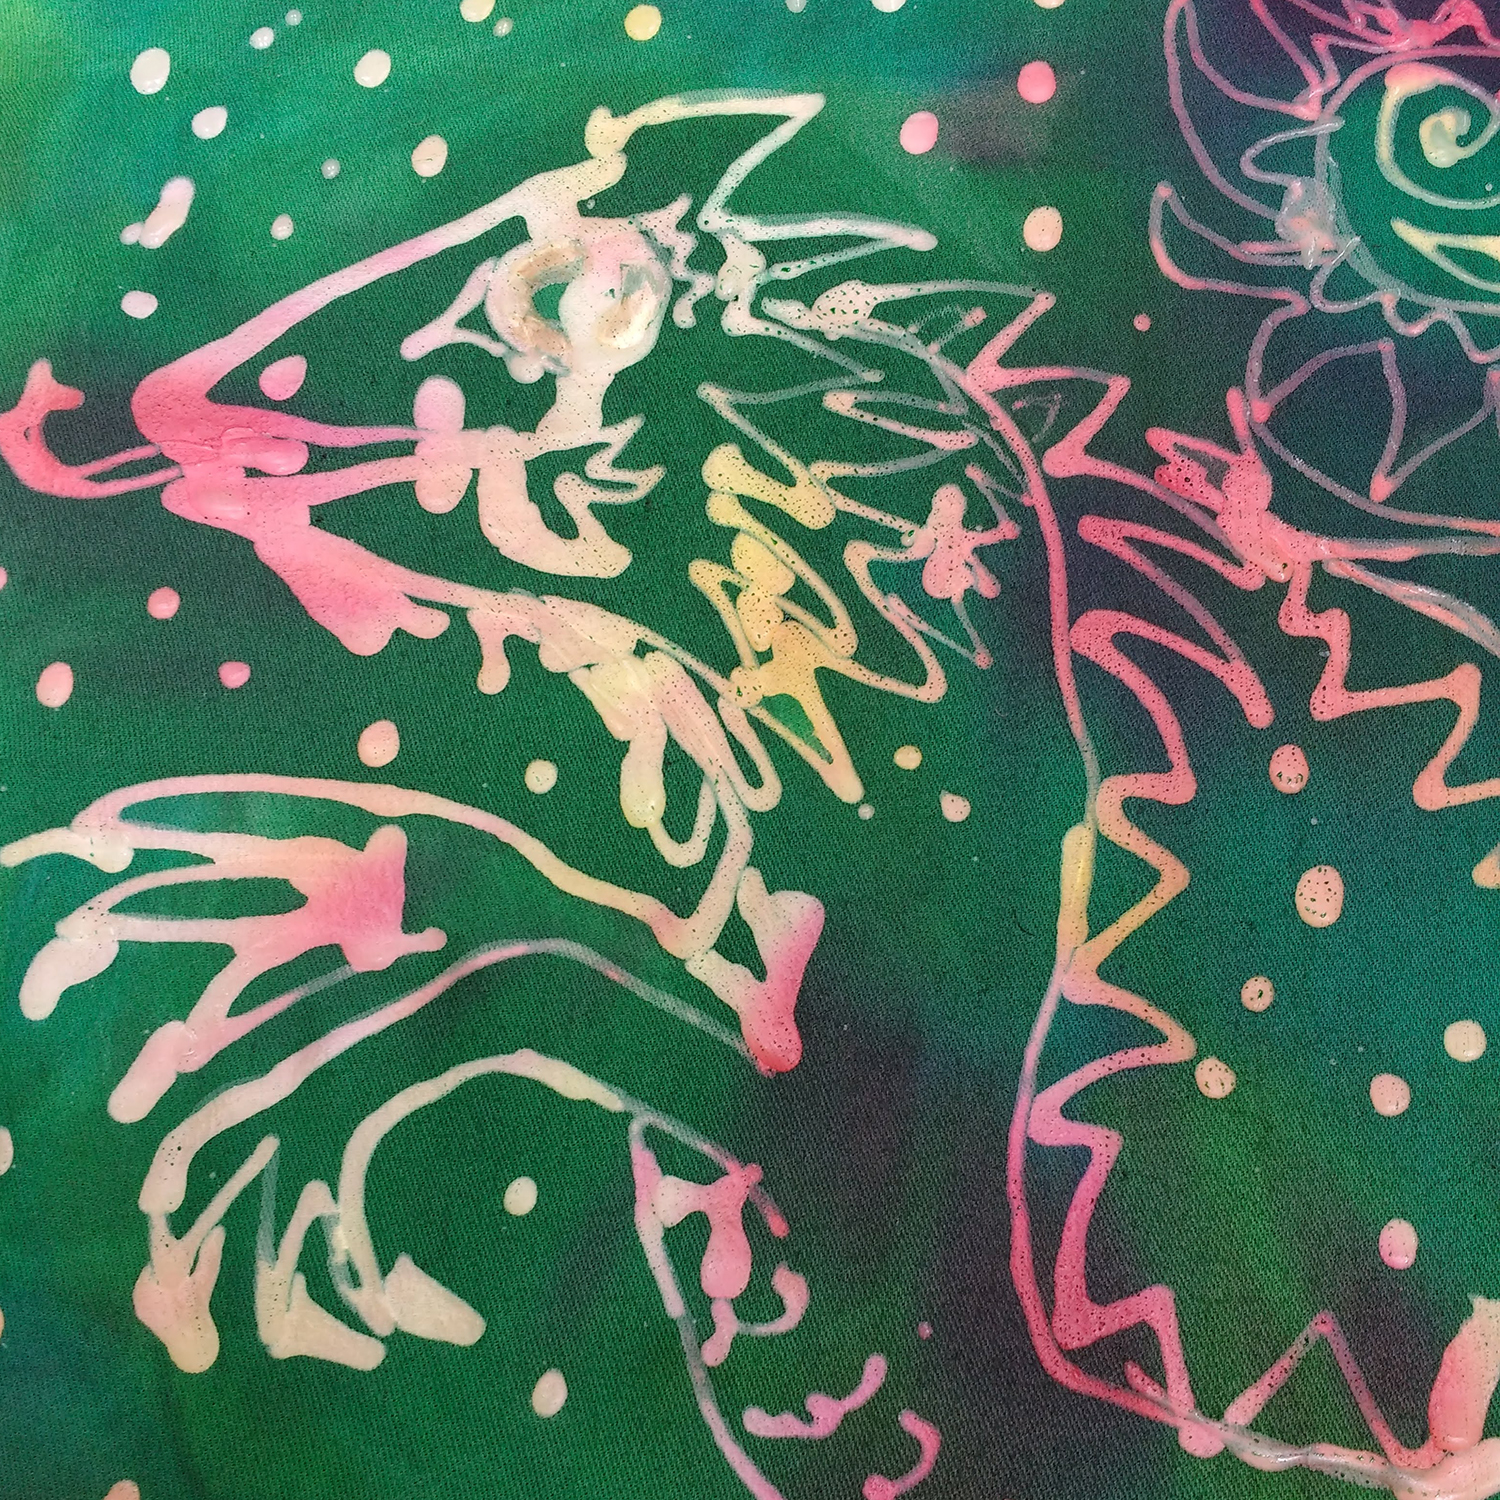
Step 7
Start drawing with the point of the tool. There will be drips but you’ll find the angle that is the most comfortable to you so that the flow keeps going at a steady rate. The wax should become translucent on the fabric, ensuring a good seal.

Step 8
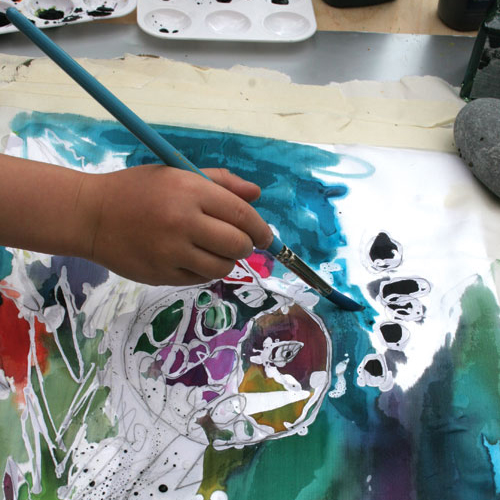
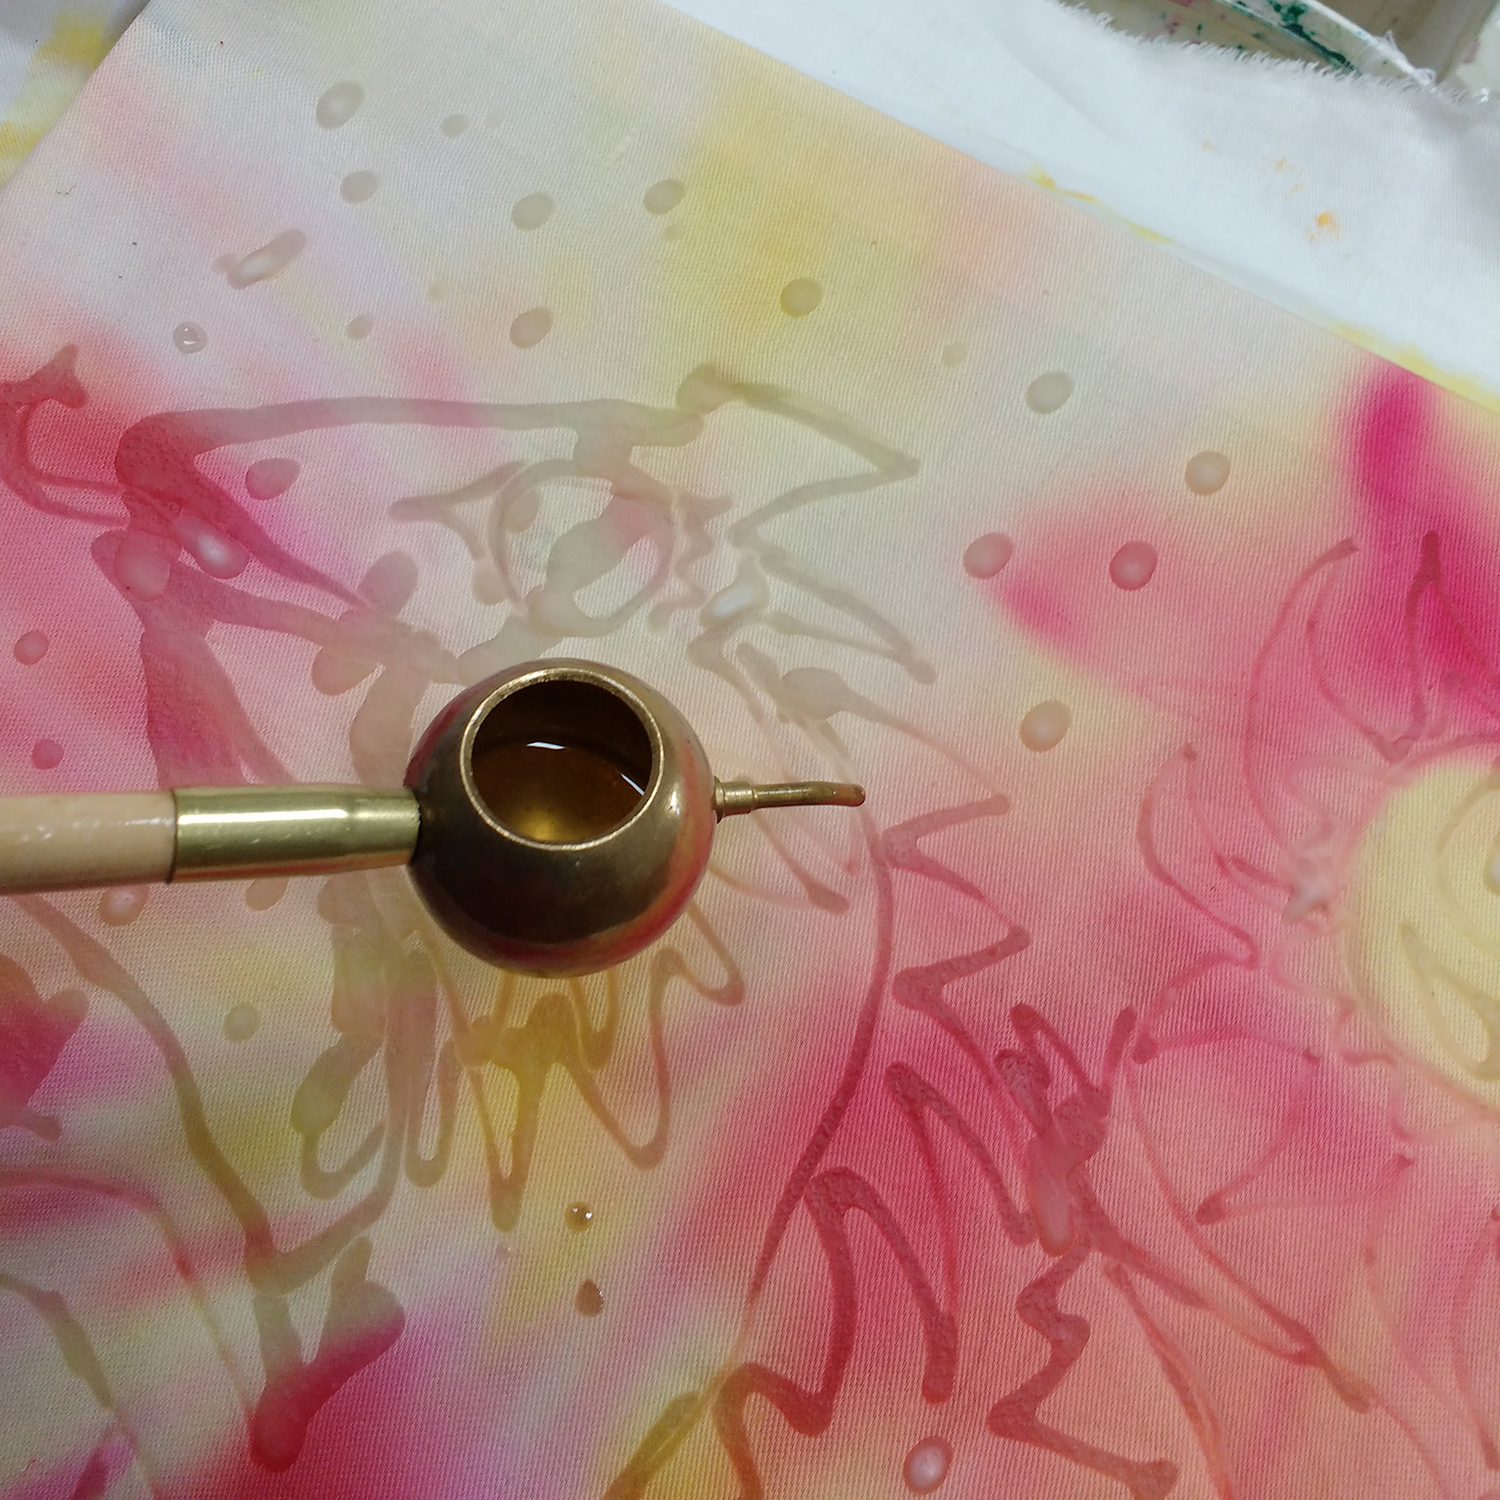
Batik inks are very concentrated! You can use them neat from the bottle or dilute or mix the colours. If you want gradation of colours you can pre-wet the fabric with a clean brush and then dot a little bit of dye onto it and watch it spread.
Step 9
If you’re using Brusho dye you can pre-mix the colour with water or allow the students to shake the inks directly onto wet fabric for firework effects.

Step 10
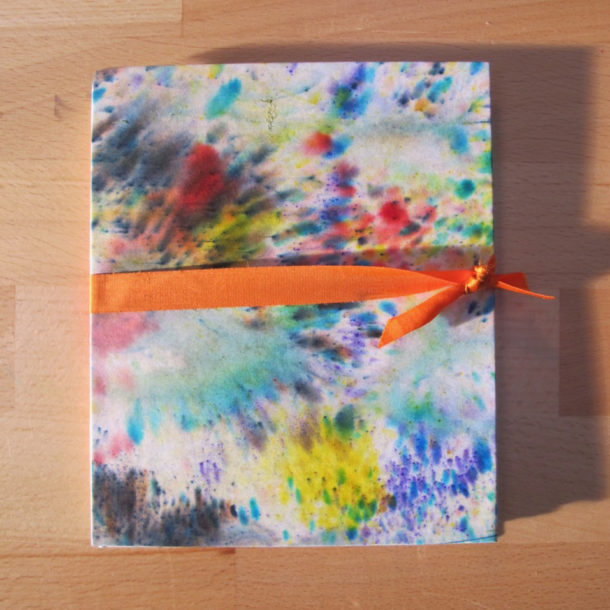
If you want to take it to the next level see below, but if you’re finished allow your work to dry thoroughly. If you’re using batik dyes, now follow the instructions on the bottle for fixing the dye. If you’re using Brusho inks you won’t be able to fix the colour so remind your students that they can’t wash the fabric. Iron between sheets of newspaper to remove the excess wax. Use the cotton setting on the iron as any higher may scorch and change the colours too. This will take time, tell your students to be patient.
The Next Level
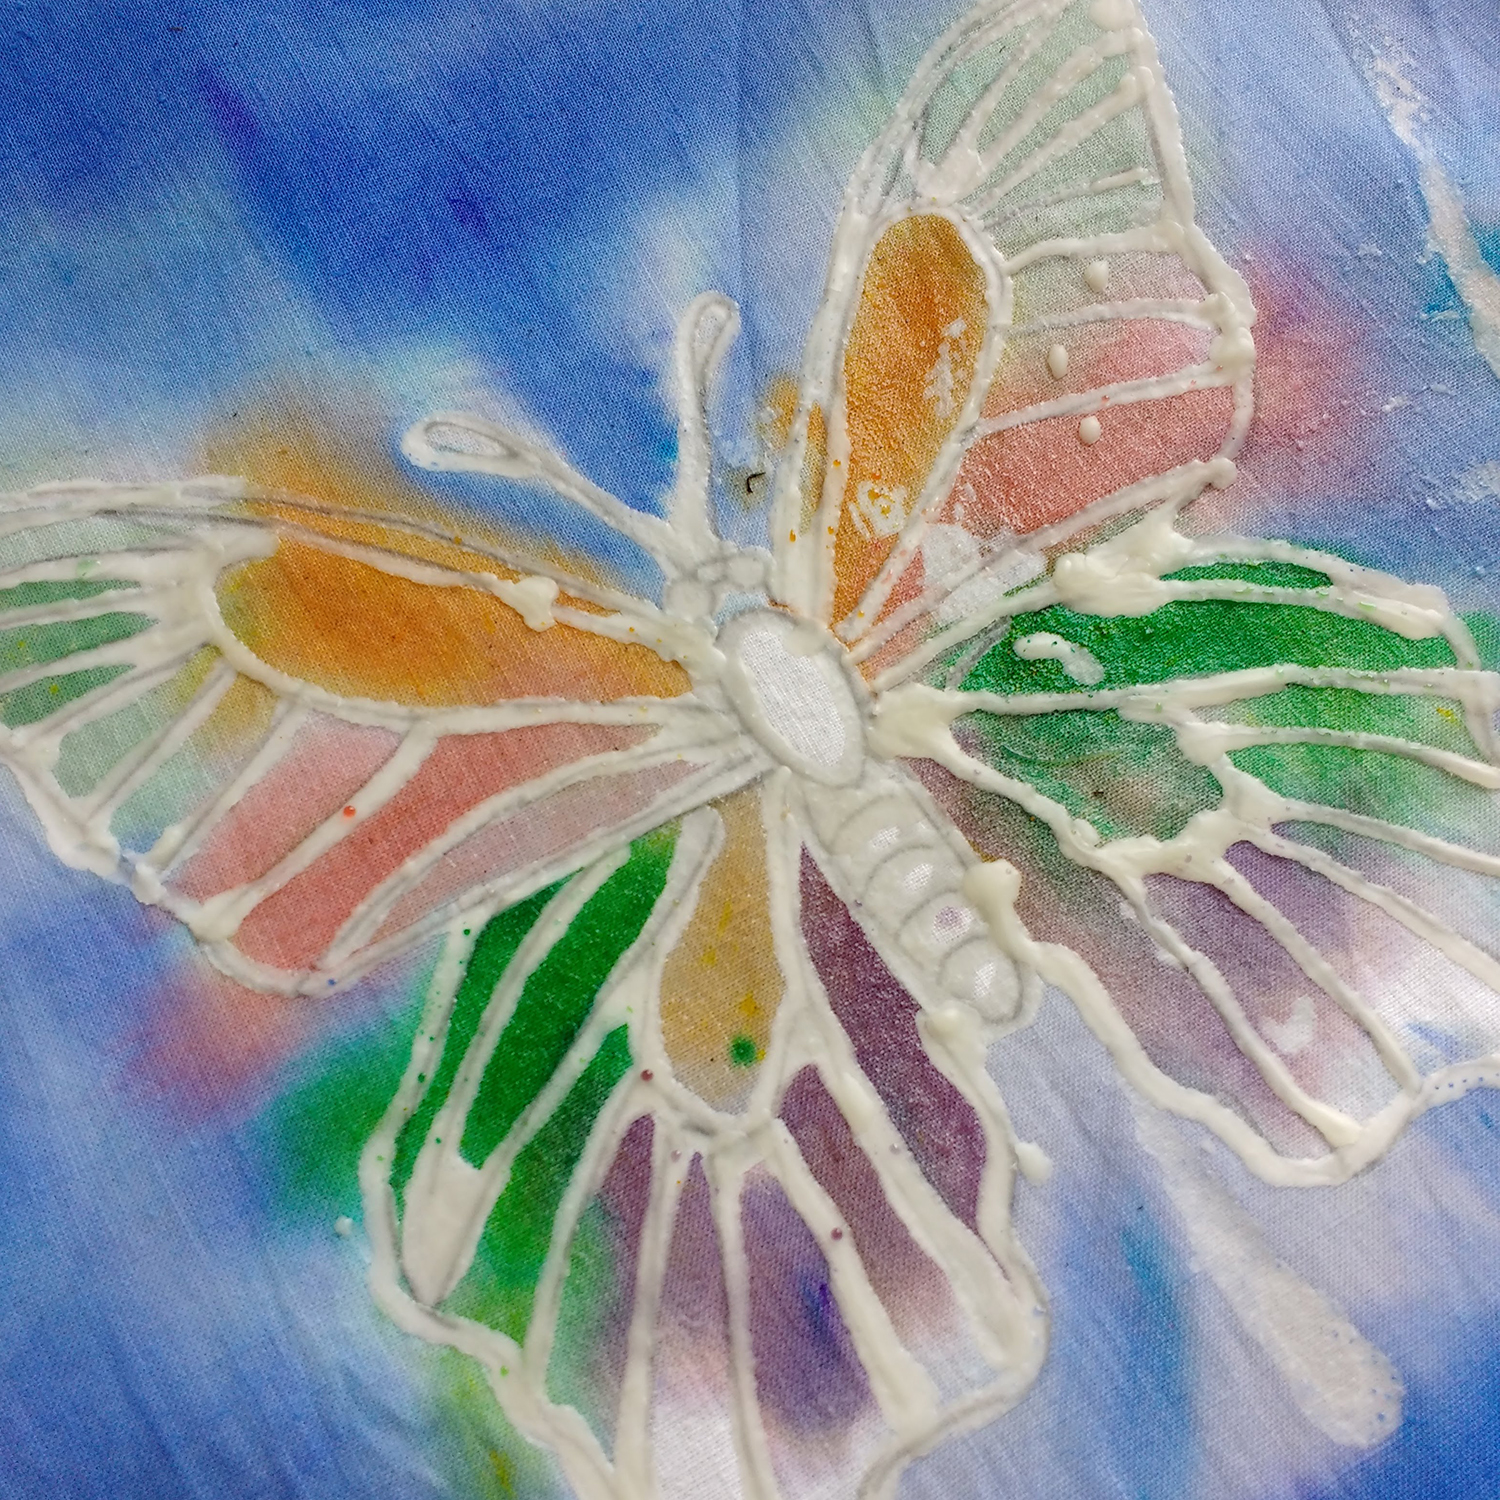
If you have more time or are working with older students, they can develop their work by adding more colours and layers of wax. They’ll be able to start thinking about working from light to dark so that the initial layer of wax becomes the highlights and the image gets progressively richer as more wax is applied and more colours are layered on top.
This is best to do on sunny days when you can put the work outside to dry. (Note: you can’t iron it to dry it!)
- Draw design on fabric.
- Use wax to apply the initial white highlights.
- Start with diluted dyes.
- The dyes need to be thoroughly dry before applying the next layer of wax. Then add more dye and dry the fabric again.
- Keep repeating.
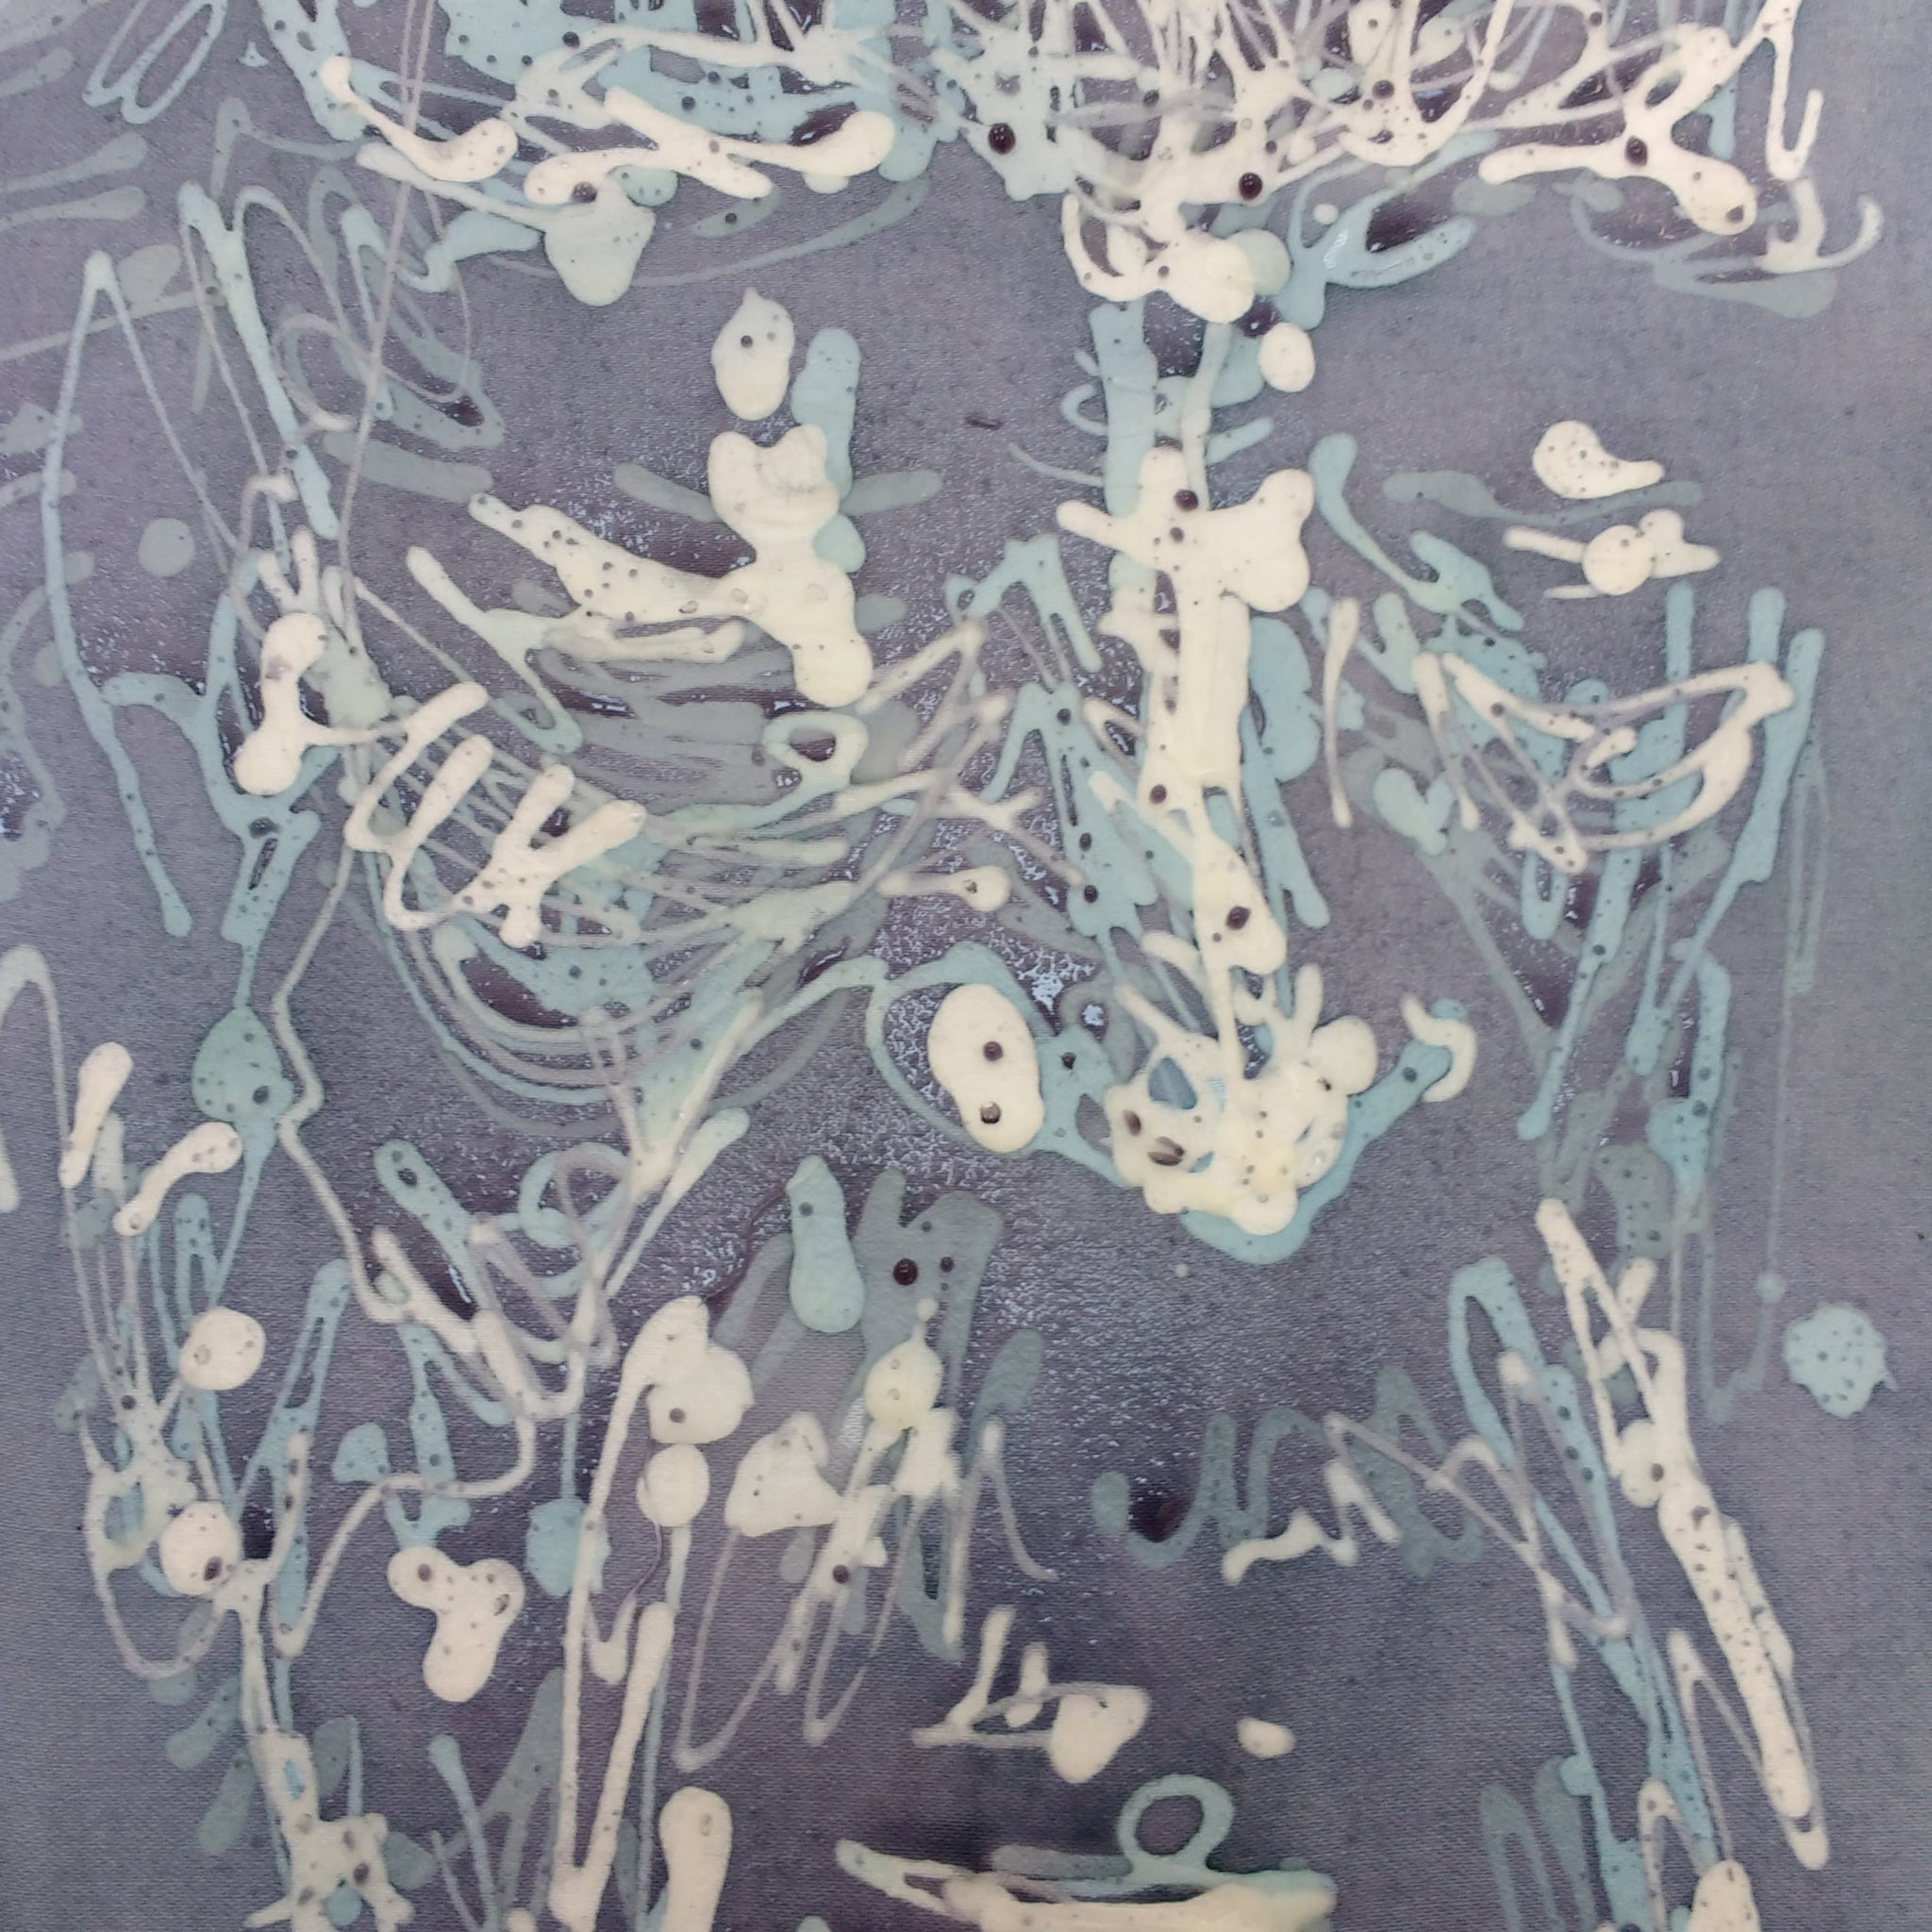
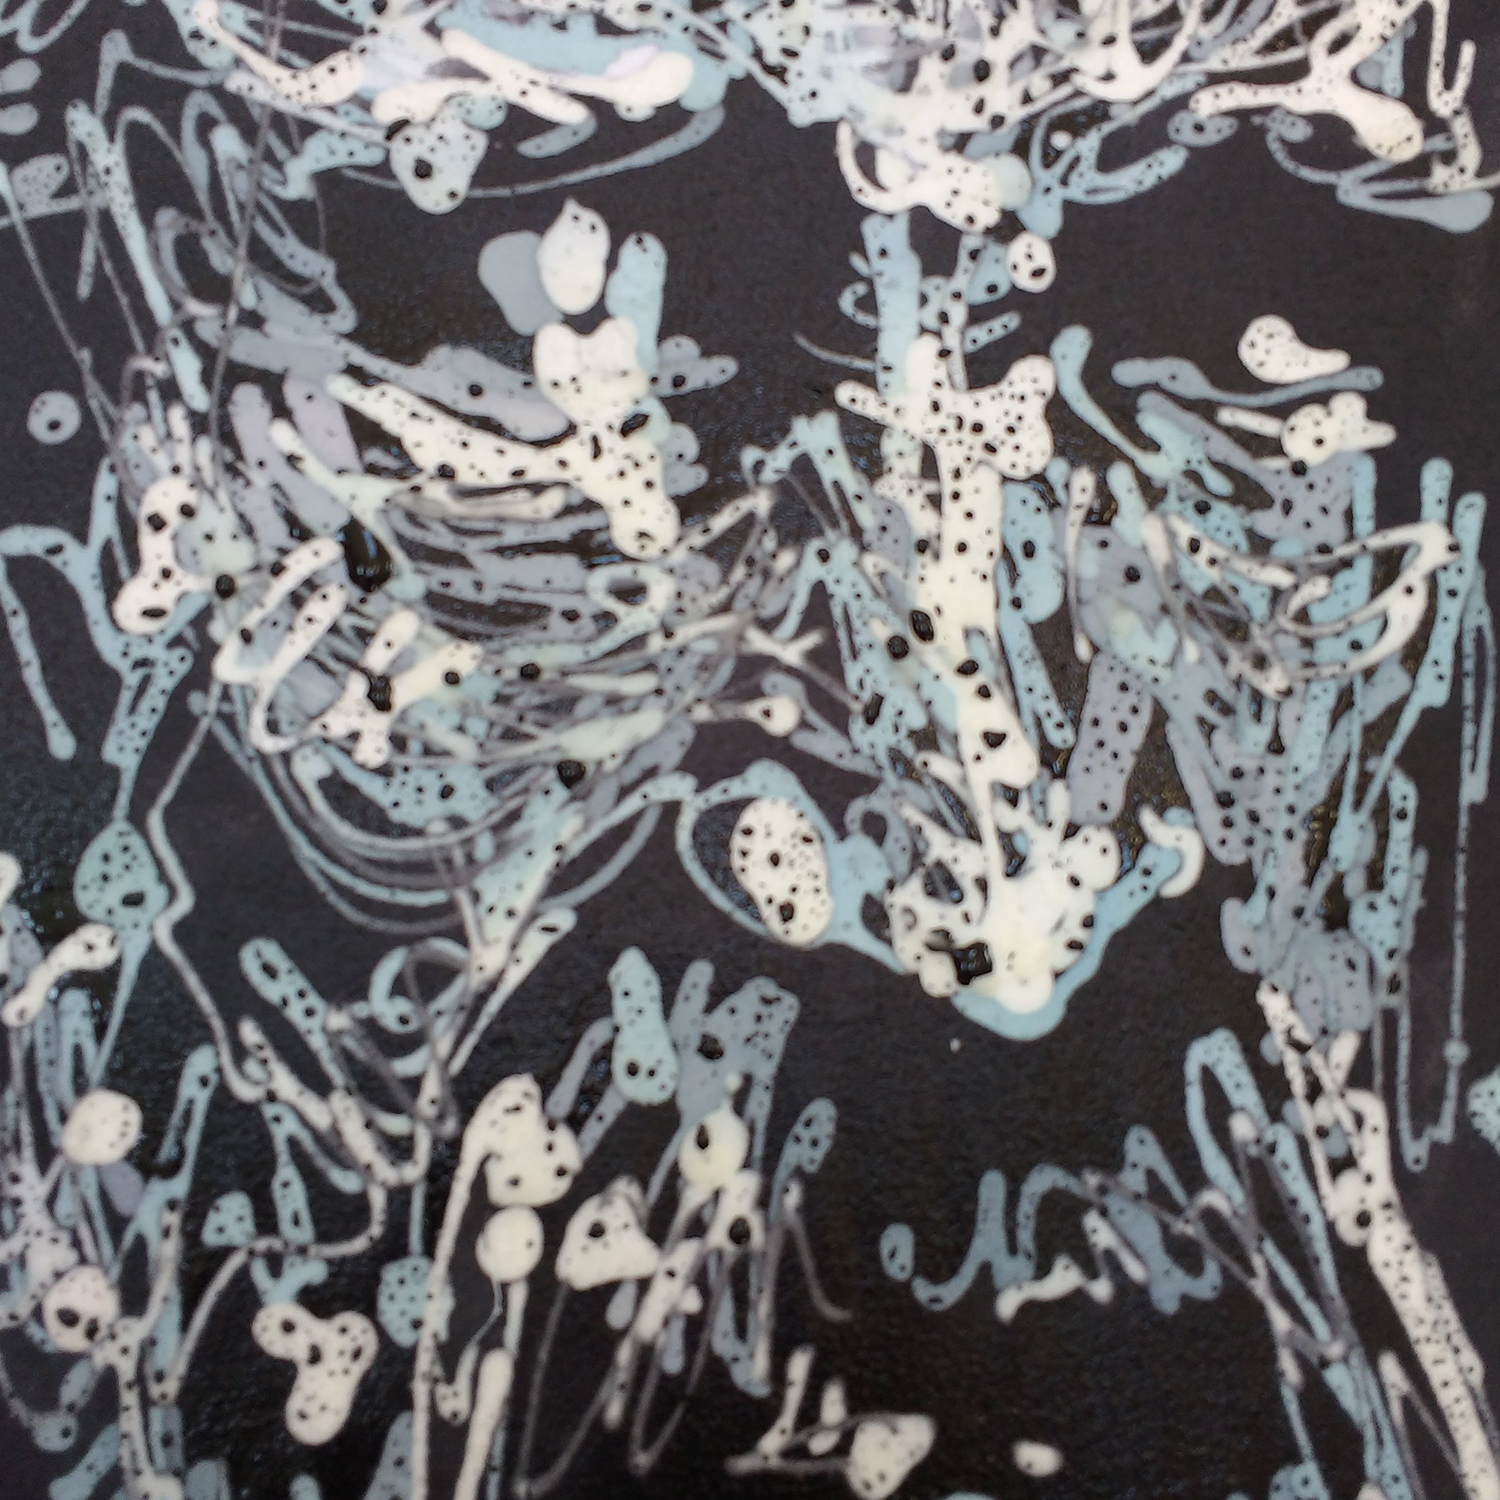
I would suggest that if you choose to try this more advanced technique it is worth using the specialist batik dyes and fixing the work afterwards as so much effort will have gone into it.
Crackle Effect
Allow the dye to dry then use a broad bristle brush to put wax all over the fabric. Allow to cool and then bunch up the fabric so that the wax cracks.
Use a strong colour and brush all over the design.
Let it dry thoroughly before ironing to remove wax.
Just Two Colours
If you want a two-lesson project suitable for KS2/3, then this will create stunning designs and Brusho works very well with this.
Ask the students to draw the design on the fabric as usual. Stretch the fabric and paint dye all over the fabric. The blotchier and messier the better! But don’t let it get too dark.
Allow to dry overnight.
Use wax with tjantings or brushes over the initial pencil drawing. Apply a second layer of dye on top. Iron wax out as usual.
Taking it further…
- Bleach/Milton tablets? Working from dark to light…
- Using rust/mud/natural dyes?
- Stencilling and spraying with other paints over the top.
- Stitch, drawing, applique and quilting.
- Tie-dye!
Artists
There are lots of videos and images on TTS’ Batik Pinterest board but you’ll find some nice images if you search for: batik, Java, Indonesia, Hmong, Yoruba, Mali, Carol Law Conklin, Marie Therese King, Boubacar Doumbia, Sarkasi Said.
Health and safety
The wax is VERY hot – use ONLY for batik. Do not put your hands in the wax pot and be careful not to drip on other people.
Keep your workspace organised and make sure you only have to move the hot wax in the tjanting a short distance.
The iron is hot. Turn it off and unplug after use.
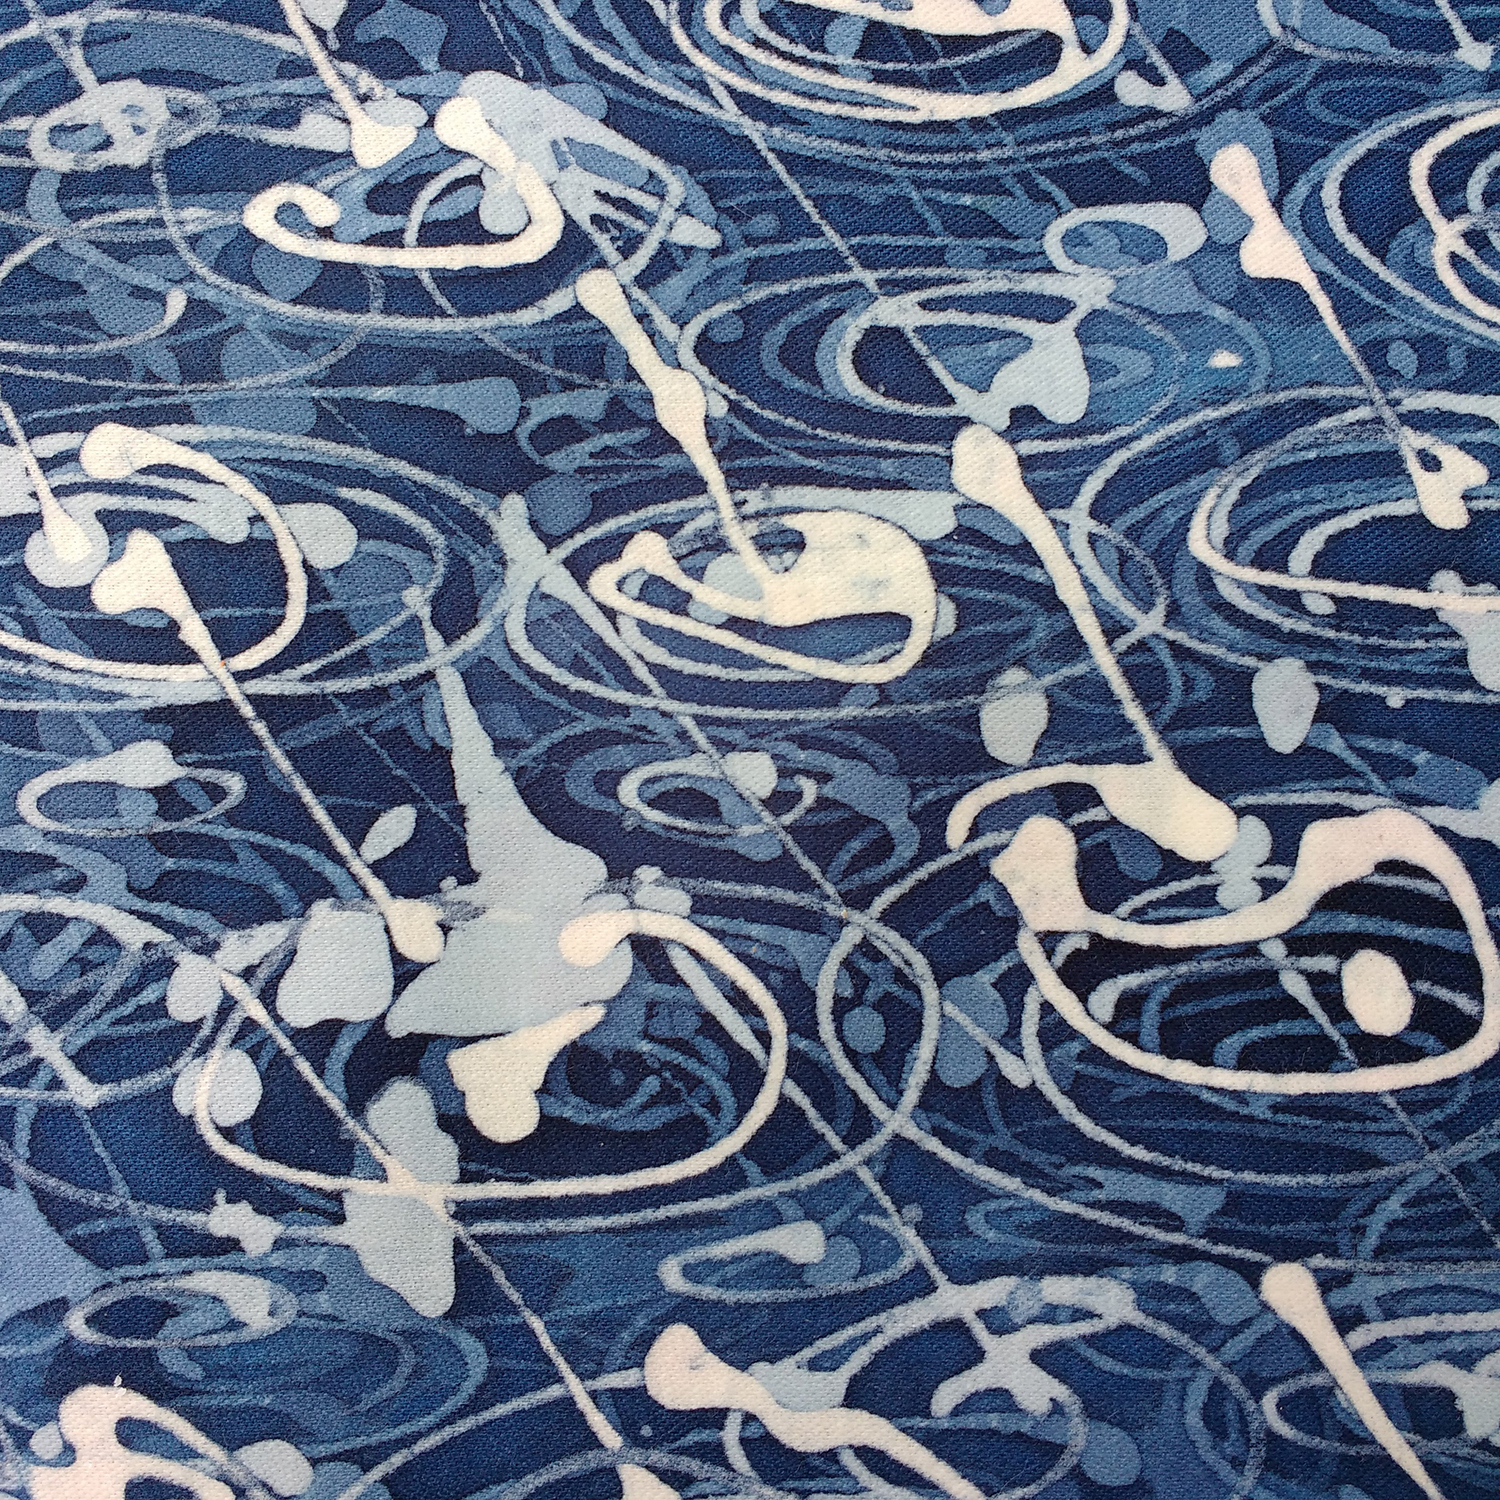
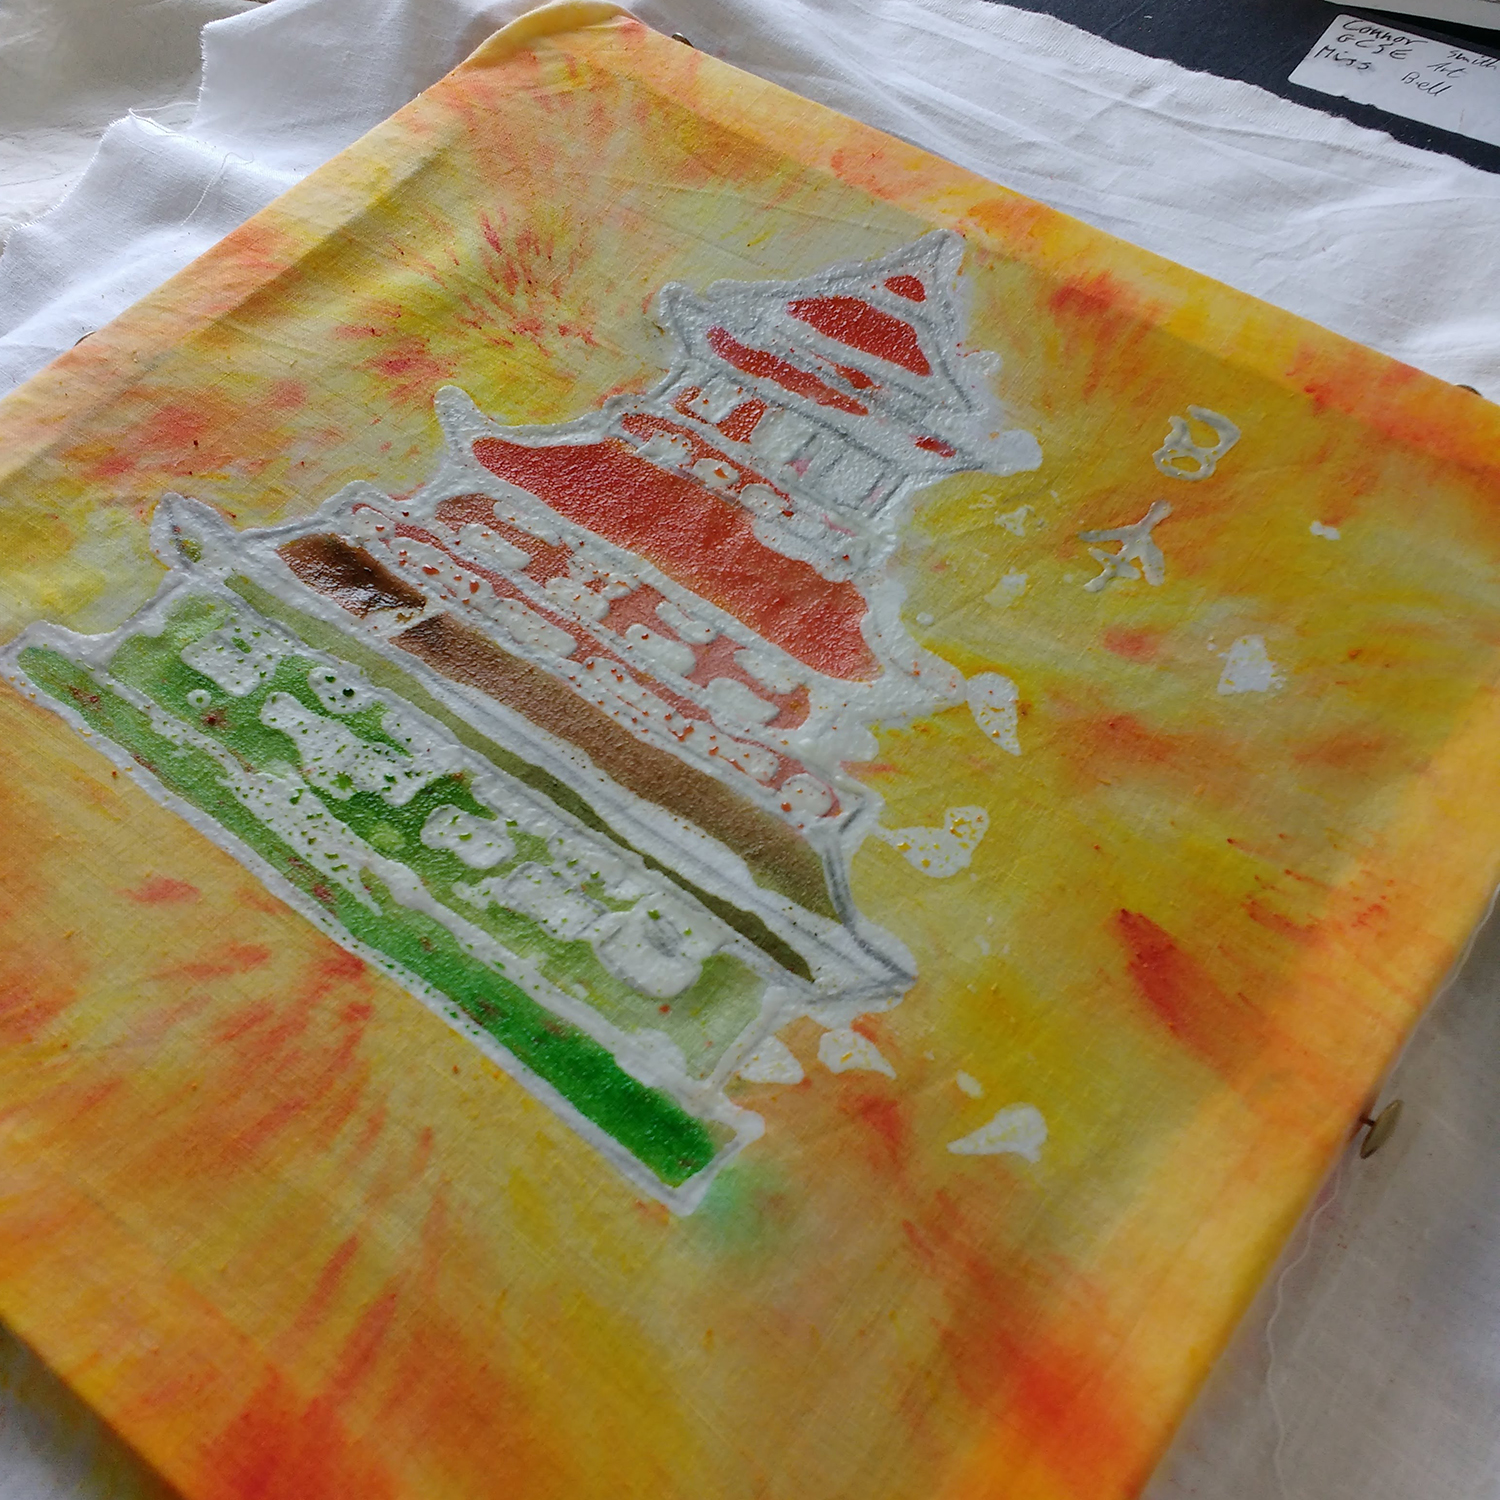
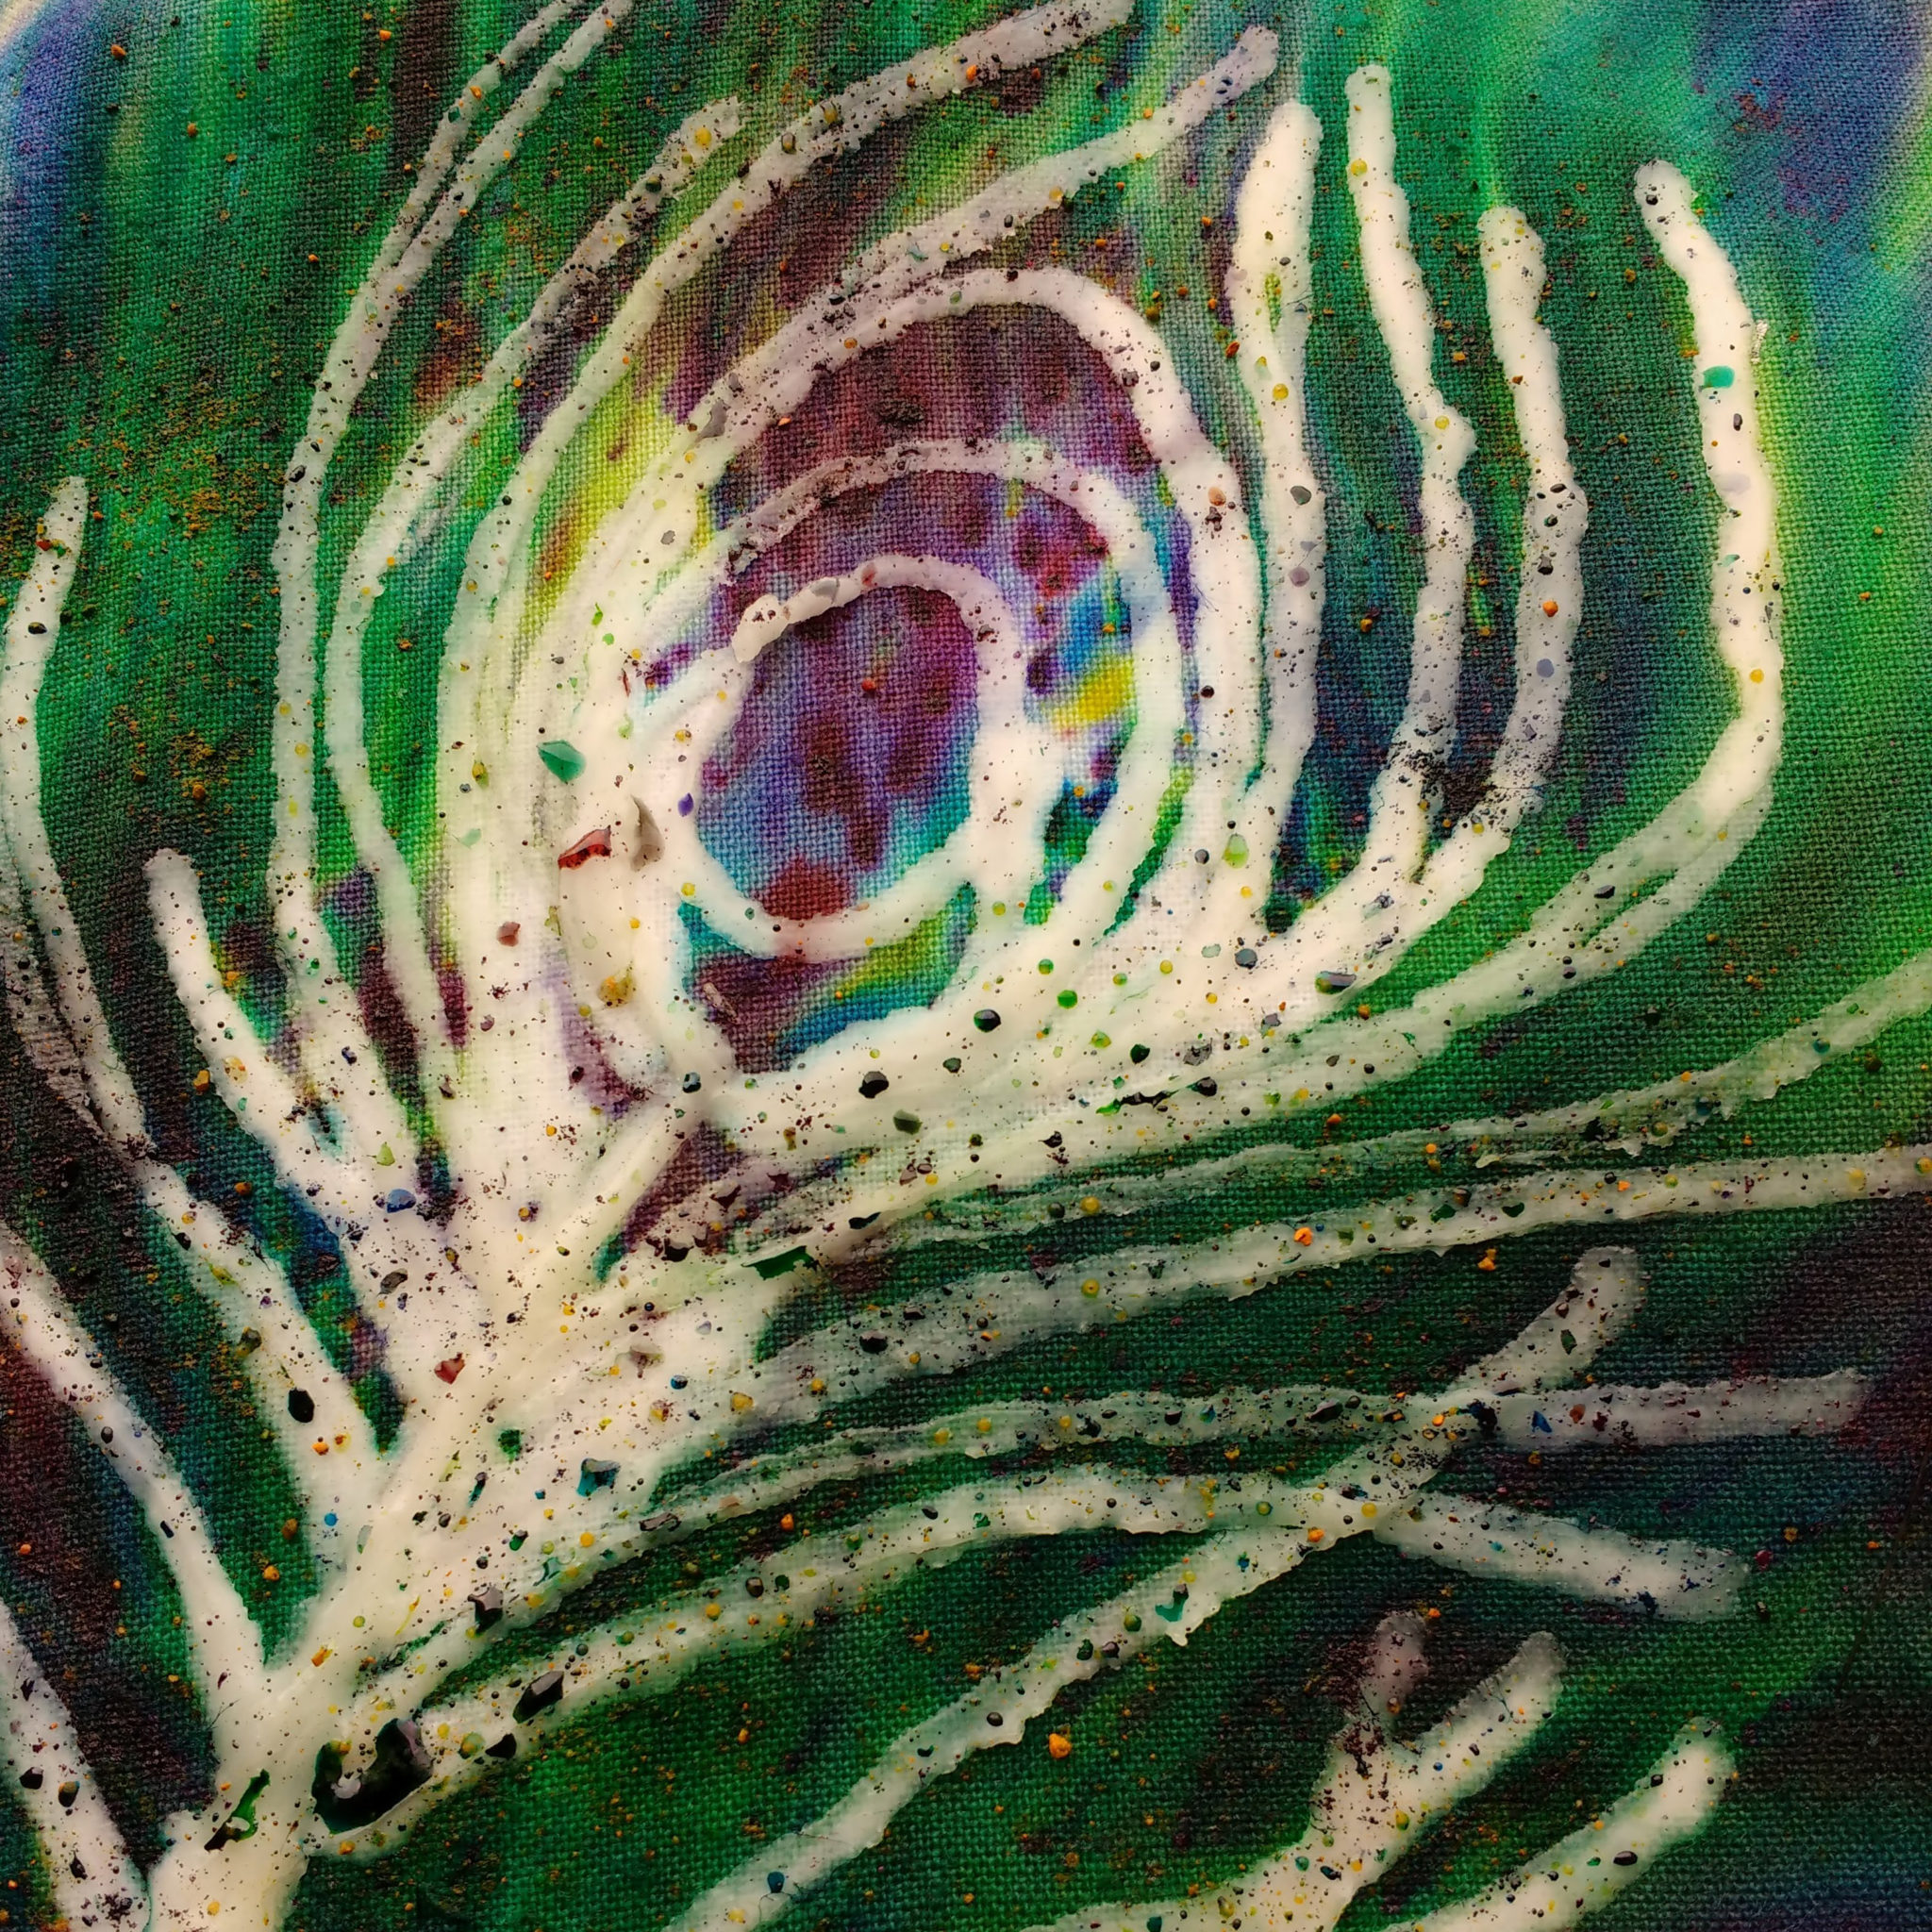
Many thanks to the fabulous Ms Bell and Year 10 students at Morecambe Community High School for the photographs and allowing me to run a workshop there.
Download the Batik handout here
Sketchbook work on Batik:

Also, with thanks to Vega Brennan for writing this post. Vega runs Linden Print Studio, a friendly, creative space for people interested in learning about printmaking, from beginners to experienced artists. Contact Vega by email here or visit her website for more information and courses available.
Check out our How to Batik in 5 easy steps blog here: