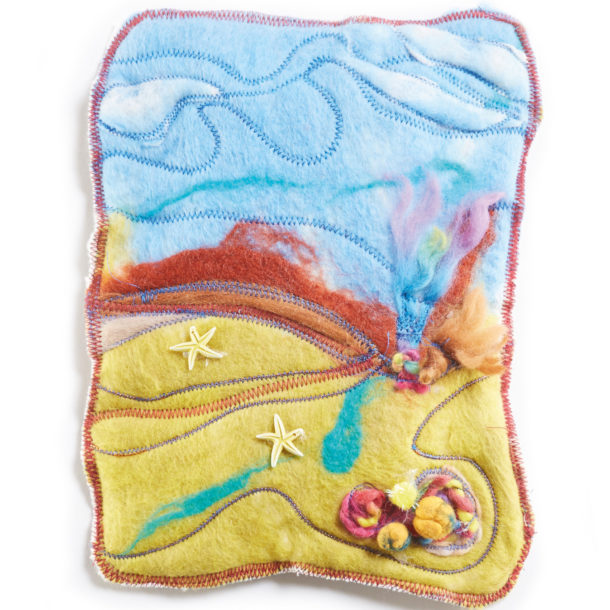
Here we show how to make a flat piece of felt, which can then be cut to any shape required. Flat pieces can be trimmed to put on handmade cards, petals can be cut out and sewn together to create brooches, flat pieces can be hung for display.
You will need:
- Bubble wrap
- Wool fibres – mixed colours
- Soap
- T towel
- Net curtain material
- Old milk carton for water with holes in the lid
- Water
- Threads and sequins for embroidery
Stage 1. Creating a design
Laying down the fibres
Step 1. Tease out the fibres – from a piece of white wool and lay down onto the bubble wrap with the fibres going in the same direction. Build up layer by layer changing direction of the fibres at the end of each layer.

Step 2. Build up about four layers – (depends on the thickness of the final piece) – making sure that there are no gaps and that you can see no mat below.

Step 3. Add a coloured layer – create your design in a range of colours – don’t worry about any direction at this stage, but don’t lay down thick pieces as they will be hard to join together. Make lines, dots or marks by twisting the wool or separating the wool.

Stage 2. Start felting
The felting process
Step 1. Cover the whole piece – in a piece of net curtain.

Add some hot/warm water to the middle of the piece and some soap flakes. Work outwards from the centre of the piece – pushing with your hands and smoothing down the fibres until they are flat. The design will move around if you are too heavy handed – but this can add to the fun!
Step 2. Rub vigorously – using the palm of your hand all over the piece mop up any excess water as you go. Gently peel away the net from the wool – if the design lifts lay back down and rub further. Some of the wool may travel through the netting – don’t worry this is normal!

Stage 3. Shrinking
The final part
Step 1. Remove the netting and roll up your bubble wrap with the felt inside.

Step 2. Hold the roll – over a sink or bowl and gently squeeze out the excess water.

Step 3. Unroll the mat and – re roll tightly using elastic bands to hold the bubble wrap in place. Lay a piece of cloth or t-towel around your mat and wrap it up. Use the palm of your hands to roll the mat to and from – you are creating friction at this stage and this helps the felt to shrink in the direction that you are rolling.

Step 4. Unwrap – you will see that the pattern has shrunk – tug the edges if it need to be pulled back into shape. Turn the felt through 90º and wrap up again in the mat and then the fabric. Roll again the more you roll the more it will shrink! Squeeze out any excess soap or water as you go. Rinse out in cold water and hang or layout to dry.

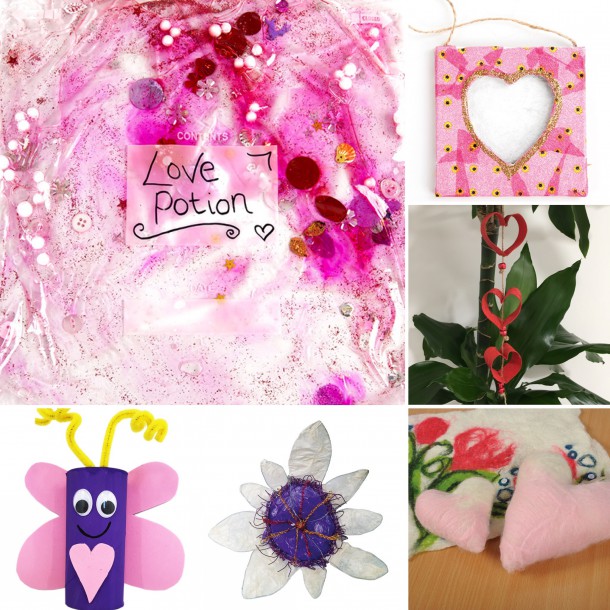
The finished felt pieces make nice wall hangings, and can be worked into with embroidery techniques and beading. They can be framed or can be cut up to make smaller items such as hanging hearts, stars or brooches.