1. Torches
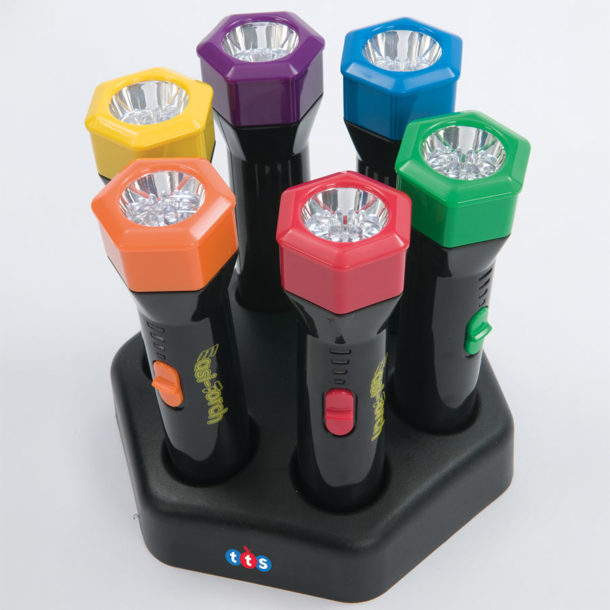
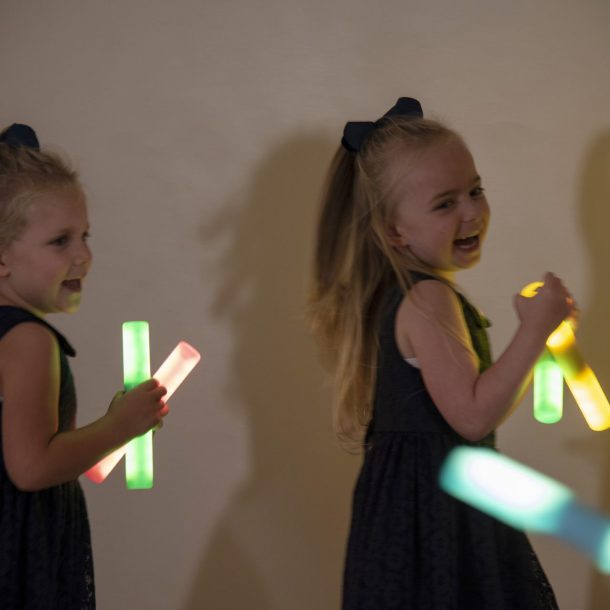
Rechargeable Easi-Torches are ideal. This set of 6 ultra-bright LED torches are great for exploring light and shadows without the worry of replacing batteries or having a dim light.
Ideas:
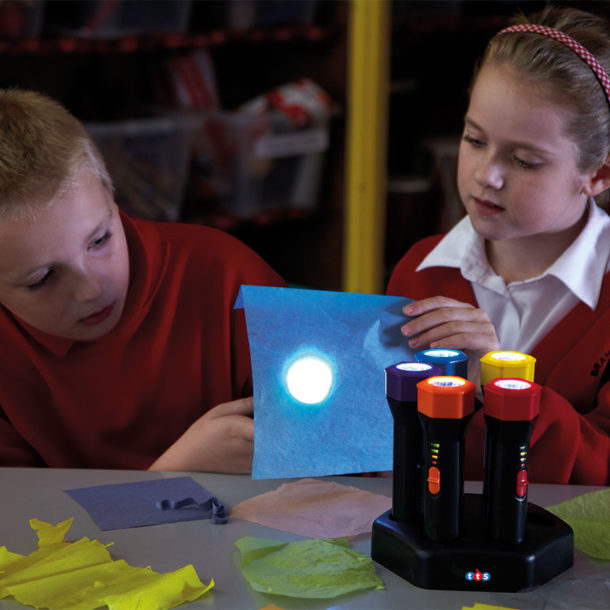
- Don’t throw away your fancy packaging! Investigate colour with your children by providing a set of torches and a table of materials such as netting, sweet papers and tissue paper. Can they change the colour of the light beam? What happens when they project onto white paper? On black? On newsprint? On their hand?
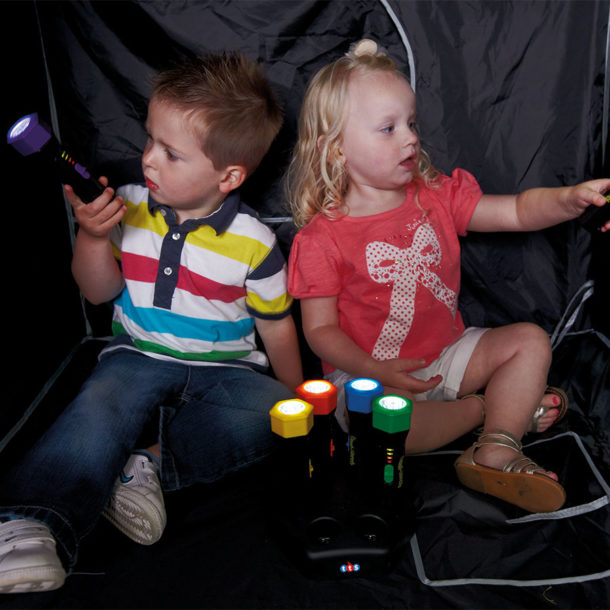
- Have you got a dark den in your classroom? If not, make one with a blanket over a table and cushions on the floor underneath. Make a label for the outside that says, “Secret Spy Reading.” Provide torches and let children in with their reading book, library book or favourite book to secretly spy read…no sounds should be heard!!!
- Sorting transparent, translucent and opaque materials. Provide a consistent background to project onto and a set of materials to be investigated, for example, a brick, some tin foil, clear plastic, coloured plastic, wood, water in a variety of containers, cotton towelling, cotton wool. The children should predict which of the three categories the materials should be placed in and then test their predictions using their torches.
- Combine shadows and language learning. Use a torch to create the shadow of a well-known object onto a board, screen or a clear bit of wall. Can the children guess what the object is from the shadow image and name it?
- Why not make some sensory boxes? Collect some cardboard boxes and cut a small hole on one side just big enough for a small hand to get through. Place objects in the box and ask the children to feel inside the box and guess the object. Now, use a torch and peek inside – What can you see? Were you correct?
2. Digital HD Cameras
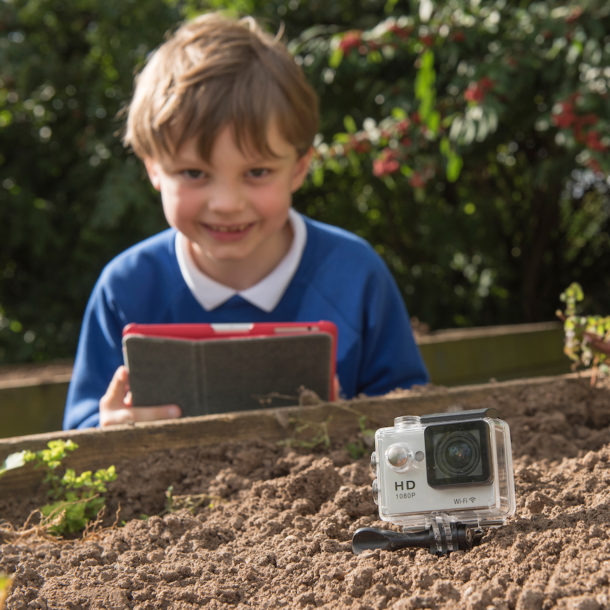
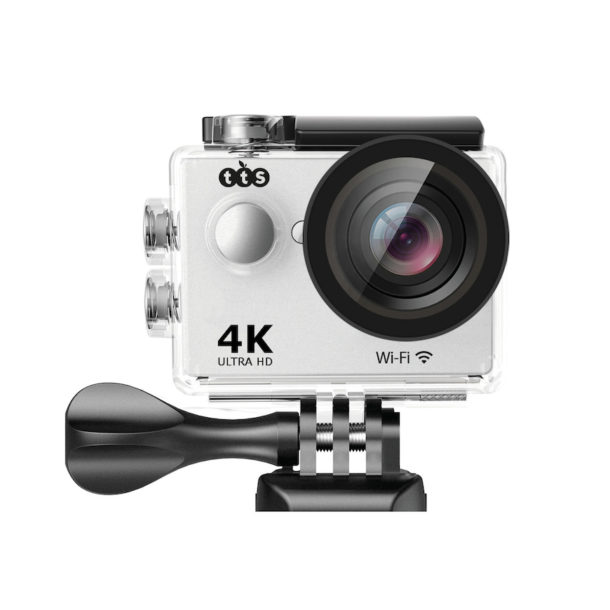
This 4k Camera with WIFI offers a robust design, quality HD recording and a simple download function through the flip-out USB. It is ideal for both teachers and children with its clear, easy to use buttons.
The use of video is perhaps the most powerful tool for teaching and learning in all educational environments.
Ideas:
- Observations and assessments – Why not use a digital camera to capture evidence for assessment and moderation? Some activities are very difficult to assess ‘in the moment’. Capturing a bit of video allows for shared viewing by staff and thus moderation of the outcomes, planned and unplanned that occur in a busy classroom. Additionally, some of these can contribute to a digital Record of Achievement.
- Capture key moments – Giving a child a digital camera and asking them to record five key moments in their day can be an illuminating exercise, particularly for children who tend to be quiet and less forthcoming in discussion. Explain that the camera will also capture sound and encourage them to speak as they film, explaining their choices. With permission from the creator of the film, the results can make lovely transition materials to support new children joining school.
- Supporting improvement – It is very difficult for children to understand what they are doing incorrectly when taking part in physical activities such as gymnastics, team games and swimming for example. Short bits of video can be replayed for discussion so the children can clearly see good features of their performance, and those still to work on. A popular activity for those who like football is to adapt the Match of the Day ‘Goal of the Month’ format with captured videos to be viewed, discussed and voted on.
- Improving storytelling – Working with puppets is a fantastic way to promote communication and storytelling skills, as well as turn taking and collaboration. Giving a digital camera to each group allows the children to record their rehearsals, check, improve and change sections as they move towards a final product.
- Capture visits – Educational visits are a vital part of the wider curriculum. Although still photographs support the follow-on learning back in class, greater impact is produced by using a digital camera (ideally one for each group but can still be achieved with one per class) to video key moments and comment on what they are seeing, feeling and learning. This digital-rich material will aid memory for those who find recollection difficult, will support writing with more depth and detail and can potentially be edited into a digital record of the event.
3. Easi-Ears
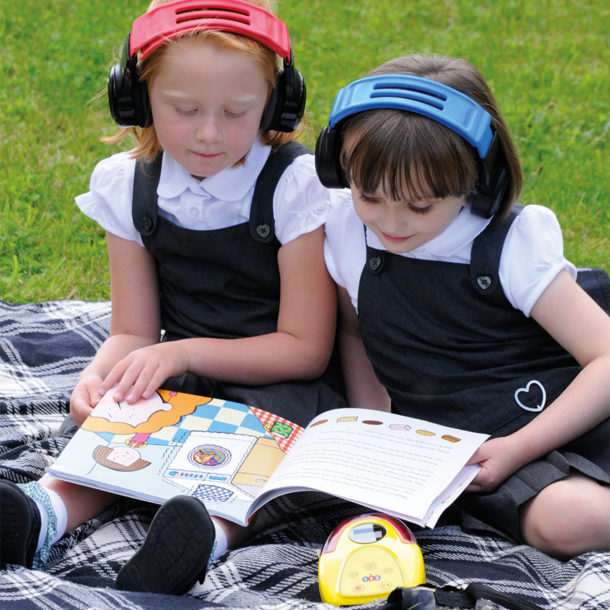
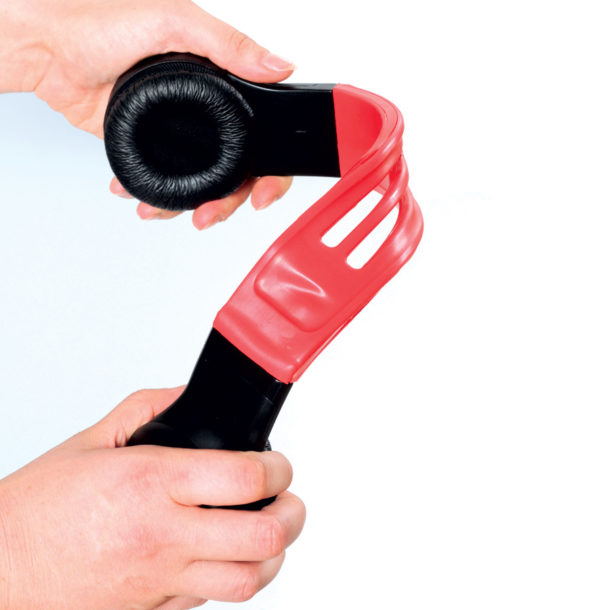
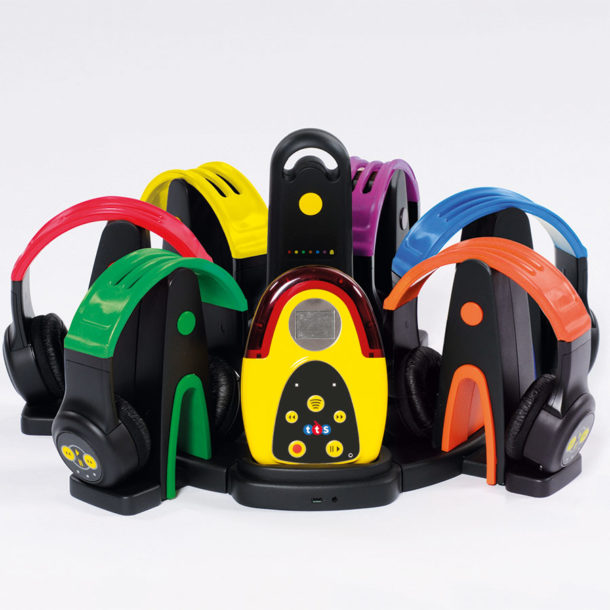
Easi-Ears is a digital audio system designed for primary schools and nurseries. Comprising a set of six different coloured headphones, remote control unit, docking station for recharging and software, Easi-Ears enables teachers to put their own audio content onto the headphones so that children can listen independently or as a group. The headphones are wireless, so children are not tied to a CD player, enabling them to be active whilst listening either inside or outdoors.
Ideas:
- Follow the leader – Record a series of physical actions onto the Easi-Ears – e.g. “Stretch up tall and count to 5”, “Skip on the spot and count to 10” etc. Ask a child to listen and do while others follow the actions of the child. Can the following children guess what the instructions are? Use as the warm up (Red Easi-Ears) and cool down (Blue Easi-Ears) in PE lessons. Can the children record their own routines for others to try?
- Revision Time! Some children find it easier to remember things by hearing them rather than reading them. Why not record the song that the class will be performing in assembly, or a times table, or ten top facts about the Tudors for children to listen to and learn?
- Build It! To support independent learning, why not record a set of instructions to support an activity in class, for example building a simple LEGO model? The Easi-Ears can all contain the same instructions or can be differentiated by difficulty or task using the different colours to indicate which is designated for each group/child.
- Easi Reading – Reading a book in class by yourself, or for homework, can be difficult at first. Stories can be recorded onto the Easi-Ears so that independent reading can be supported. Remember to include clear, ‘turn the page,’ instructions and allow time for looking at the pictures when recording.
- I hear, I draw – Why not use the Easi-Ears for a listening comprehension? Record a description of a person, place or event, ask the children to listen carefully and then draw what they hear.
4. Easi- Cars
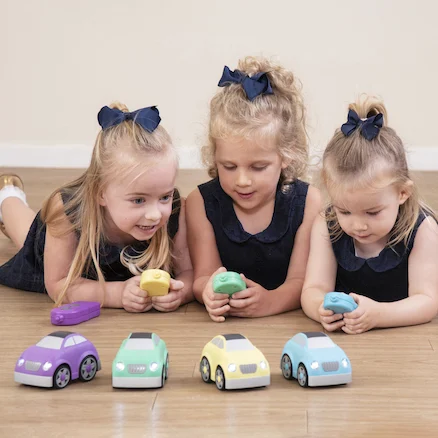
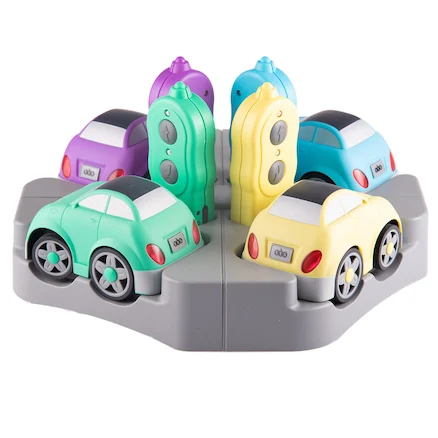
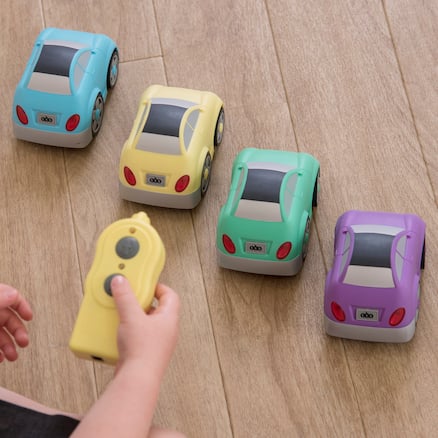
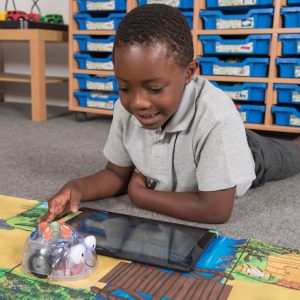
A fantastic set of four vibrantly coloured rechargeable Easi-cars on four separate frequencies for battery free collaborative play.
Ideas:
- Follow the leader! You’ve seen synchronised swimming, well why not try your hand at synchronised driving? Ask the children to take turns being the leader and encourage the others to control their cars and follow in a line. How tricky is it to all stop at the same time, or maybe turn and follow the car at the back of the line?
- On your marks, get set, find! Try this timed game to help develop awareness of letters and sounds. Lay 4 coloured squares on the floor, along with picture cards or flash cards. Start each car on its matching coloured square then show the children a phoneme, eg ‘oo’, ask them to say the sound and then count down, 3, 2, 1 allowing the children time to scan the floor for words or pictures that match the phoneme. Ask the children to drive to a card of their choice. Were they all correct? Who was quickest? Were there any spare matching cards left uncovered? Repeat with a different phoneme or perhaps the same phoneme but add the challenge that they cannot revisit the same card.
- Number Lines – Add some excitement to counting up and down a number line. Spread a set of numbers out on the floor, starting with 1 – 10. Can the children drive their car to the next correct number and then back again? Try just driving to the even numbers, maybe the number cards could be increased to include numbers to 20.
- L-Plates! Have a good look at the area around your school. What kind of buildings can you see? Are there any zebra crossings or roundabouts close by? Spend some time creating cardboard models to build a version of your town. Can the children drive their cars and stop when a doll is using the zebra crossing? Can the colours on the traffic lights change and do all the drivers know what to do when the light shines red?
5. Recordable Pegs
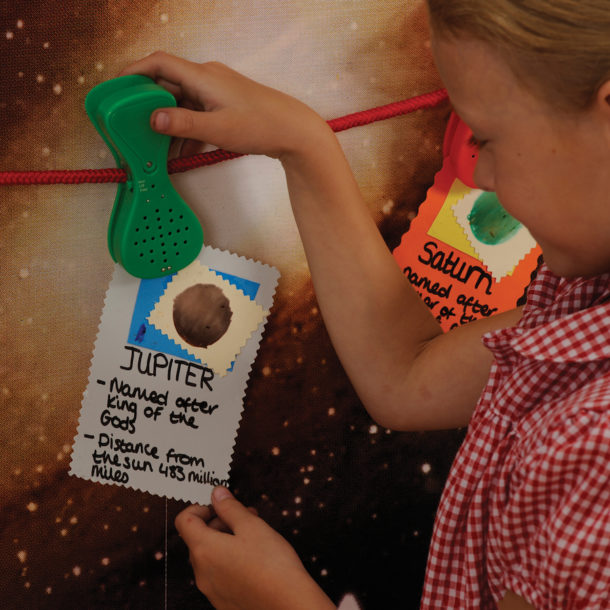
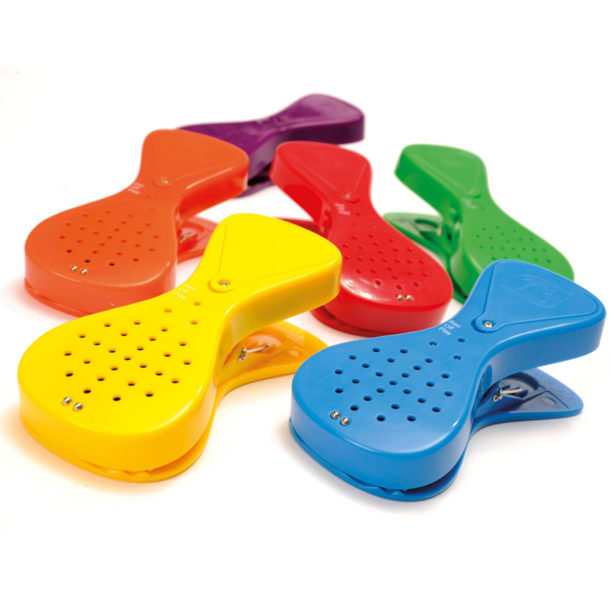
An award winning set of six recordable pegs. So simple to operate – just flick the switch to ‘record’, press the special light-touch contacts and record up to ten seconds of audio message. To play your message back, simply flick the switch to ‘play’ and touch the contacts. The loud playback is suitable for every part of your setting, indoors or out. Each peg measures approximately 10cm, ideal for little hands to manipulate.
Ideas:
-
Now try this – To support independent working you could use the pegs to scaffold a ‘make and do’ process. Use a separate peg to record each stage and attach it to a photo of the process, for example, making a Christmas card where the instruction “Choose a piece of card and fold it in half” could be attached to a photo of a blank piece of folded card. Can the children use the pegs to order the instructions and then follow the process independently
-
Match it up! The Recordable Pegs are perfect for auditory matching games. Record animal noises and have the children listen to each, then select and clip the correct photo/drawing/symbol to the peg. Make this harder by having a line said by a character in a story recorded on the pegs, again the children have to match the character picture to the corresponding peg.
-
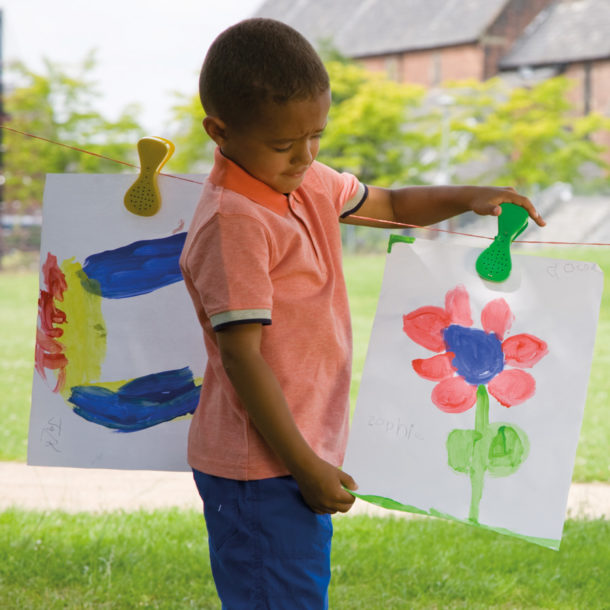
Well done! Why not use the Recordable Pegs for feedback on a “How did I do?” washing line? The children submit work and you leave a message on the peg about it with the work attached for the children to pick up and listen to. This can be adapted with ideas for re-drafting, peer review or even ‘guest’ responders who leave mystery messages, for example Santa Claus on letters to Santa!
-
Listen and do! If you are working on maths operations you could record a series of instructions, for example, “Add 3,” “Take away 1,” “Multiply by 2,” on the Recordable Pegs. Cards with numbers can be attached and the children take a card and listen to the specific instruction for that number card. This could be used for consolidation of a particular operation or level, catch up for those requiring a range of activities to secure understanding or extension activities to add challenge to the session.
6. Bee-Bot
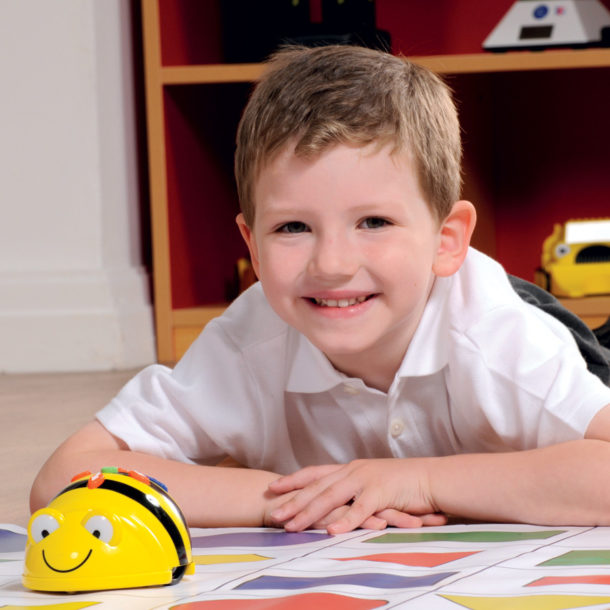
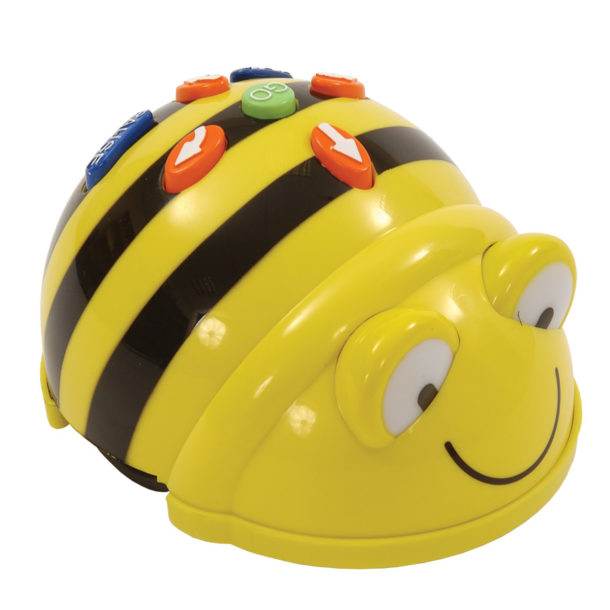
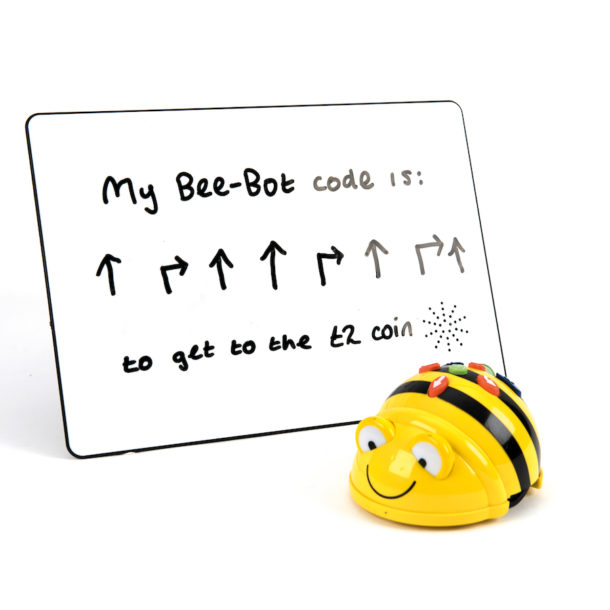
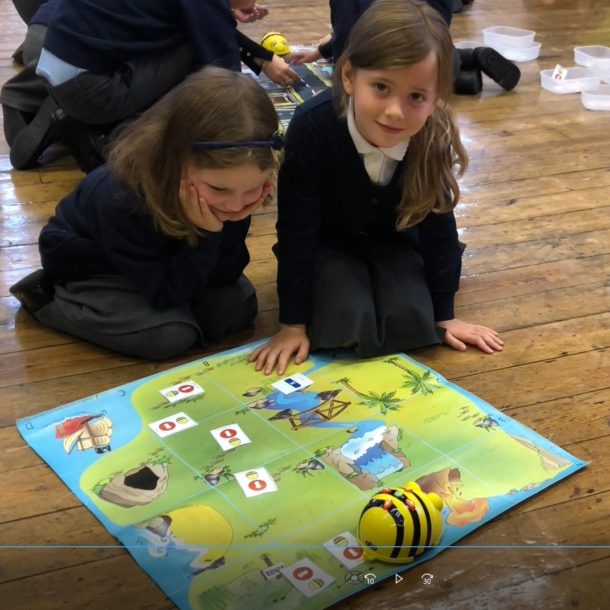
Award winning programmable floor robot, the Bee-Bot’s® simple and child friendly layout is a perfect starting point for teaching control, directional language and programming to young children. Now rechargeable, there are no more batteries to change, simply recharge via your computer USB socket.
Ideas:
-
Smoothie Shopping! Gather some fruit, juice and a yoghurt (or whatever ingredients you like) for a smoothie. Make cards with either photos or words for each. Make differentiated ‘shopping lists’ of one, two, three or four ingredients. Children are tasked with sending the Bee-Bot to get what is on their list. Can they work up to a programme that gathers all four items? Of course at the end of the session, the smoothie can be made and shared!
-
Bee-Bot Sentences – This works as an easier version of Scrabble. Choose lots of words that could be combined in different ways to make sentences and lay them out on the mat. Give each group the chance to look and work out what words they would like to collect for their sentence. The group must then work out a programme to collect the words and make their sentence.
-
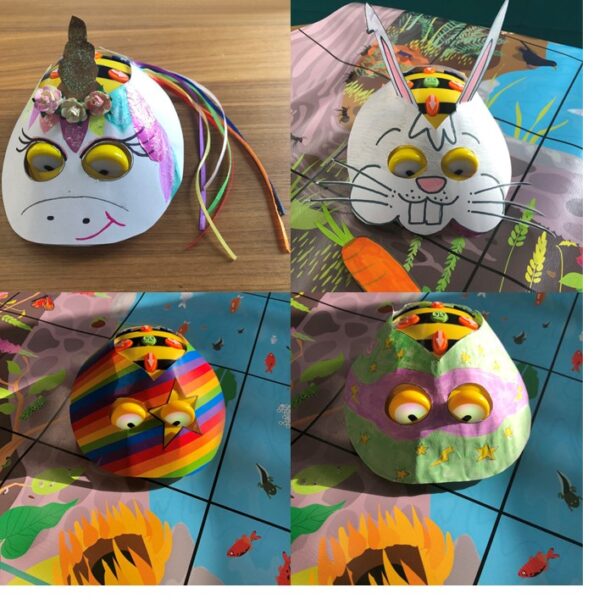
Strictly Come Bee-Bot! Each group is given two Bee-Bots and a short (40 seconds max) piece of music. They should design a dance that lasts exactly the correct amount of time and the two Bee-Bots should finish next to each other. Shells can be decorated and used to add ‘sparkle’. The final show should take place in the dark with the dances lit by torches. Don’t forget to judge and award points.
7. Outdoor Big Points
These remarkable units are great for speaking and listening, and with a 30 second recording time, they are ideal for use in all weathers. The speakers have been specially designed for loud play back outdoors and are ideal for Early Years treasure hunts or interactive number lines.
Ideas:
- What do we do? Use the Outdoor Big Points around a playground/playing field to help organise a P.E. session. Make sure that each Outdoor Big Point has a different physical activity recorded on to it such as “Do as many star jumps as you can in 30 seconds” or “How many times can you throw and catch a bean bag in 30 seconds?” Move the groups of children around the numbered activities giving them time to perform the actions. Can each group make a record of the number of actions they perform at each activity?
- Collecting Data – Place the Outdoor Big Points at pre-arranged, strategic places around an outdoor area, for example next to animal enclosures on a field trip to a farm. On each, record three key data points, e.g. name of animal, type of feed, average height/weight. As the students find each stopping place they take a photo of the animal, or draw it and record the data which can then be investigated, sorted and compared back in class.
- Quick on the draw! Place the Outdoor Big Points at pre-arranged, strategic places around an outdoor area at school or on a field trip. The students carry clip boards with plain paper and at each point listen to a recording that tells them what to look at and quickly sketch. Change the visual location of each challenge, e.g. “Look down and quickly draw two things near your feet” or “Look for something green where you are and quickly sketch this.”
- Sound Story Sequence – Record a simple story, or lines from a poem on the Outdoor Big Points. Hide them around an outdoor area and next to each put a supply of coloured objects, e.g. LEGO bricks or counters, one for each child or team. The students find the Outdoor Big Points and listen to the recordings, then take the appropriate coloured object. When they have all of them, they arrange the objects in the order they think the sequence is.
8. Rainbow Talking Photo Albums
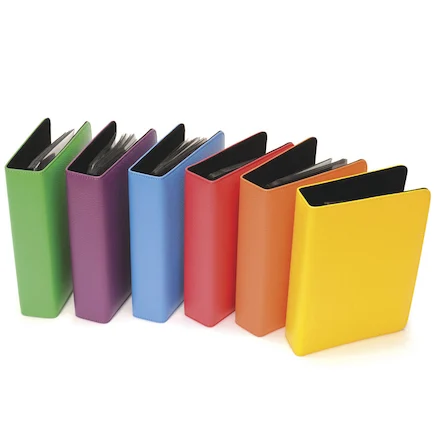
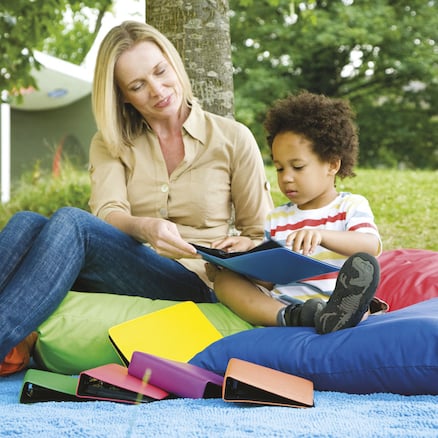
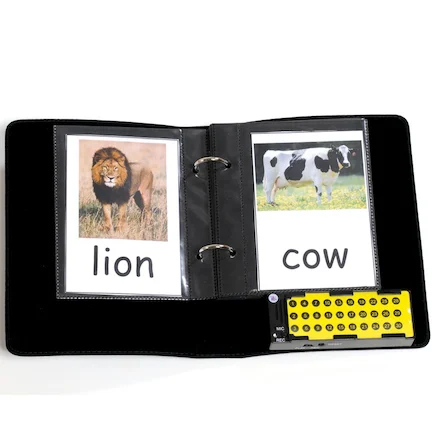
These fantastic Rainbow Talking Photo Albums let you record your own 10 second message into each album which plays when opened. All albums have a capacity for 30 separate 10-second messages and they cater to a wide range of educational uses. They are made of durable materials, designed for repeated use.
Ideas:
-
Phonic Magic – In each album, place photos or cards using the desired phoneme which should be recorded on the album. Open the album enough to hear the recording. What pictures could be in the album? Quickly gather as many ideas as the group can offer then check which ones are actually in the album. Did they get them all? Did they get some that were not in the album?
-
Story-telling – Place photographs or pictures inside the album that are sequenced to show a story or event. Ask the children to look at the pictures and/or photographs and tell/record the story shown. Invite the children to share each other’s stories with one another. Did they tell similar stories? Which story did they like best? Why?
-
Cluedo! Give each group a photograph or picture. They should work out a series of clues that might help someone guess what they are. They choose the one they think is best and record it, then place their photograph or picture in the album. In a group, listen and work out what each picture or photograph might me. What makes a good clue? What is too easy? What is too hard?
-
Can you build it ? – Put a set of diagrams in the album and record instructions to go with the diagrams. It might be using Lego to make a construction or using lollipop sticks to make a picture frame. Can the children follow the instructions? Alternatively, get the children to make something first and then put the diagrams in the album. Can they record the instructions to go with the diagrams? Whose instructions were the easiest to follow? Why?
9. Talk-Time Postcards
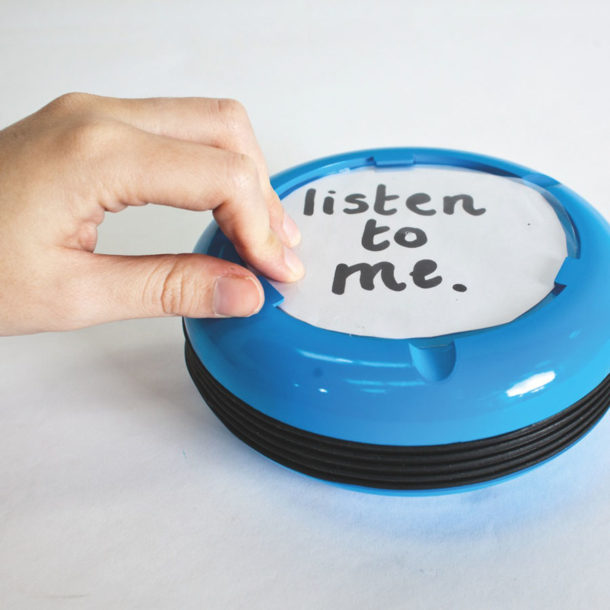
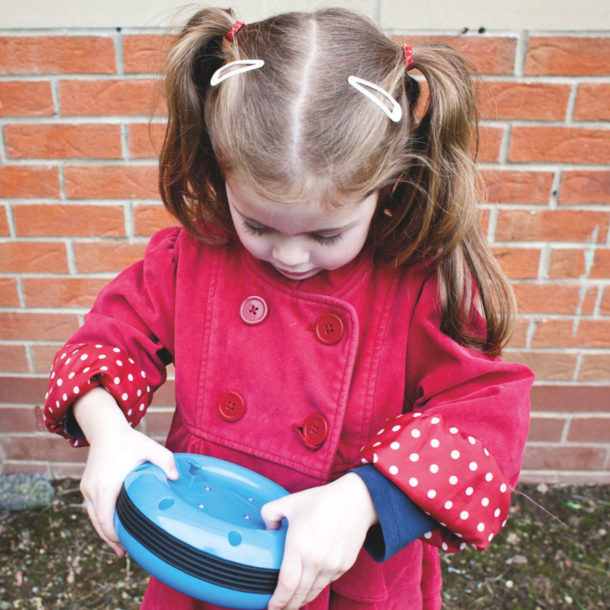
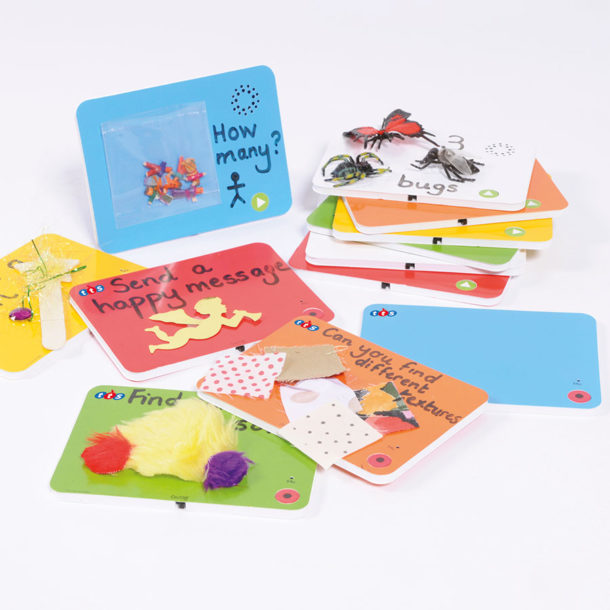
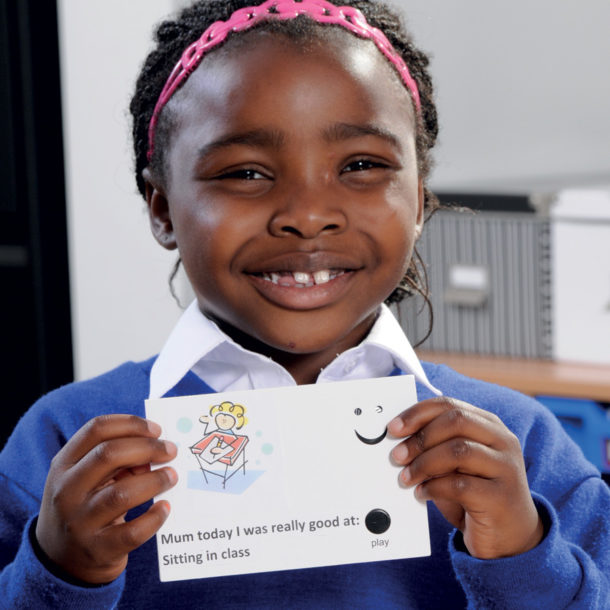
These innovative cards are just great for all children, especially those with special needs; they are interactive, hands-on and suitable for all ages. Simply record a 30 second message then press play! You can use them over and over again. The cards are write on/ wipe-off, plus there is a clear plastic pocket for you to insert your own cards.
Ideas:
-
Vocabulary Builder – Learning new vocabulary can be complex for some children, especially if they have additional needs or are just not finding reading easy. If you are introducing topic specific vocabulary or vocabulary linked to a season, event or celebration, why not write the word on the card and record either the pronunciation or the word used in a sentence? You could add a photo or drawing if appropriate on the reverse of the card in order to provide additional support.
-
Messenger – Some children are never chosen to take messages as they will not be able to remember and repeat the message accurately. Record the message on the postcard, add a photo of who it is for and let a child take it to that person who can record their reply!
-
Home/School Praise – Record a message explaining how well a child worked at something and attach a photo or drawing of the event. Let the child take it home to show and tell, and the parents/carers can record a message back to class!
-
Early Communication – If you are using postcards as a writing/communication frame for a topic with young children they can draw and record their message for a display. The postcards could be sent to or by characters in a book, people in the news or family members… the permutations are endless!
10. Easi-View Wireless Visualiser
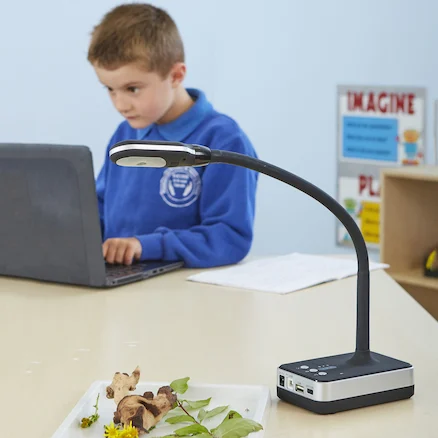
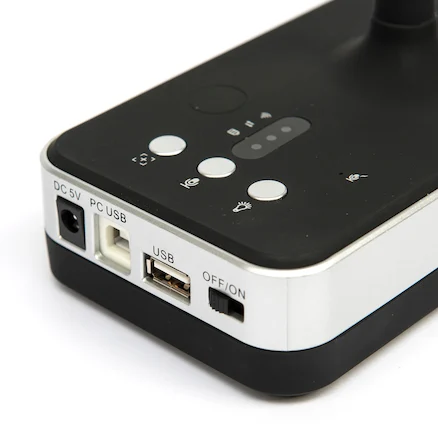
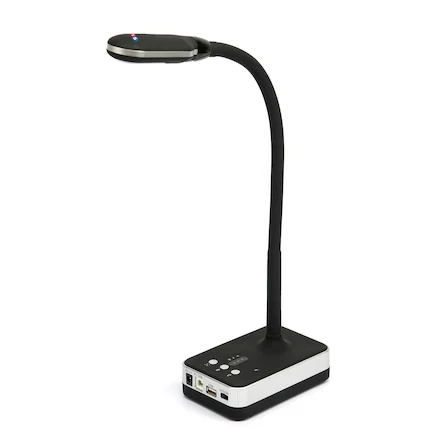
Easi-View Wireless Visualiser is a premium quality visualiser with features and functions designed to accommodate frequent and demanding use. Simply position items under the camera, connect wirelessly to a projector, tablet or computer and show everything on your interactive whiteboard live as it happens. The powerful zoom allows you to view detail often not visible to the human eye. Take pictures and videos using the camera function and record audio via the internal microphone.
Ideas:
-
Animation Station – This camera is perfect to set up with existing animation software making great use of its steady base, the angle poise neck and camera light reducing the need for tripods and extra desk lights. The height of the neck allows for animation of real objects, e.g. farm animals, baby shoes or food, in addition to models or 2D drawings.
-
Here’s one I made earlier – Use the Easi-View to effectively demonstrate how to complete a task to the whole class. By displaying the Easi-View through a projector a process can be performed, such as an origami folding exercise, from beginning to end ensuring that all children can see. Can they then repeat the task independently after watching the visual instructions? Can one of them demonstrate the process under the Easi-View while the others watch carefully and check the process?
-
Working Model – Why not use the Easi-View to display completed work and discuss features that make it effective, as well as areas for improvement? Try a collaborative exercise where a piece of work is displayed and children come up and each make a correction, alteration or improvement so that ‘live’ comments can be shared and discussed about possible revisions. Photographs can be taken at each stage so that a record of revisions is available for further discussion or reference.
Watch out for Part 2 of this series with a further 10 ideas for teaching ICT in Early Years through play.
With thanks to Carol Allen and Claire Graham for writing the ideas in this post. Carol is the School Improvement Advisor for ICT and SEN in North Tyneside LA. Claire is an experienced School Improvement Advisor with a Primary teaching background.

