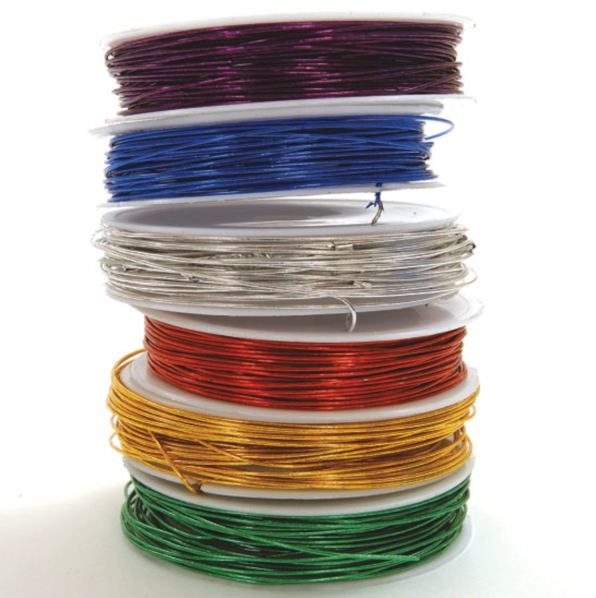
Start with softer Floristry Wire for younger groups and advance to the harder Modelling Wire (tough, like a coat-hanger) for older or more advance students.
Below we have outlined two different methods to suit different levels of skill.
METHOD 1:
Great for beginners.
Step 1
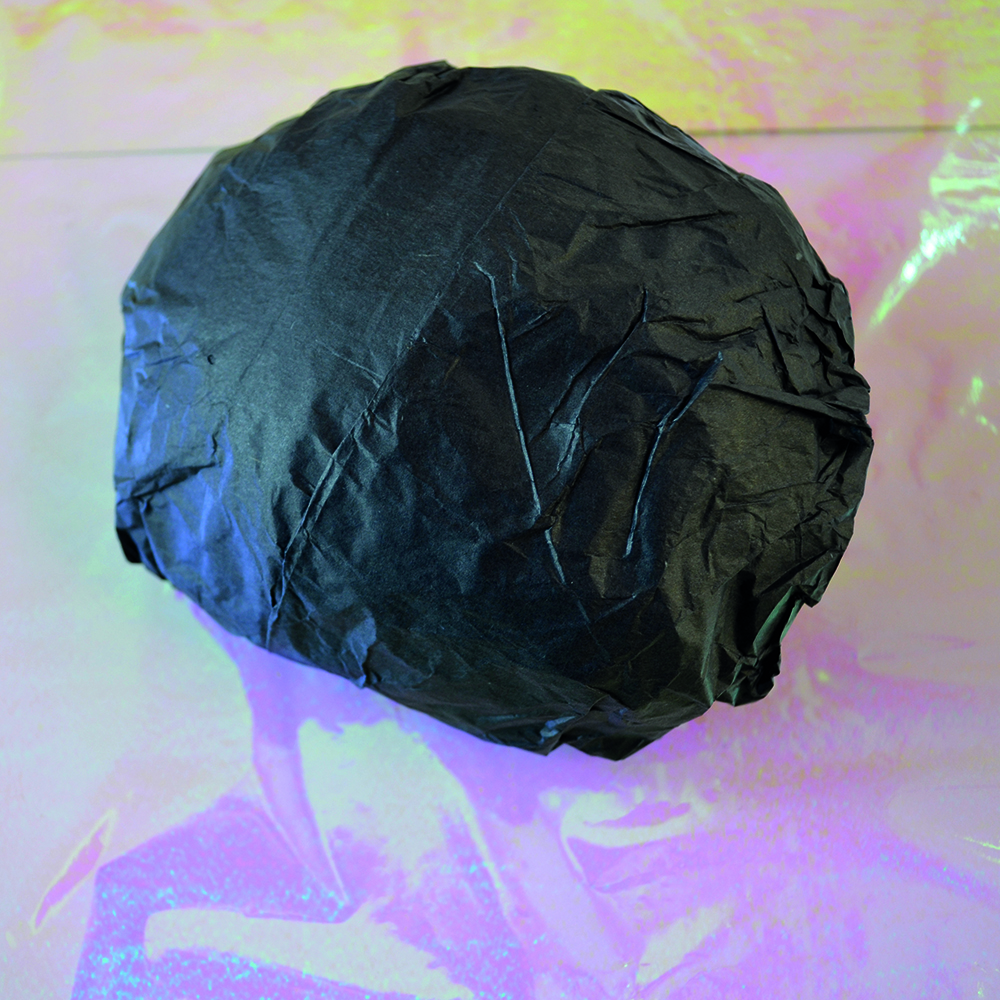
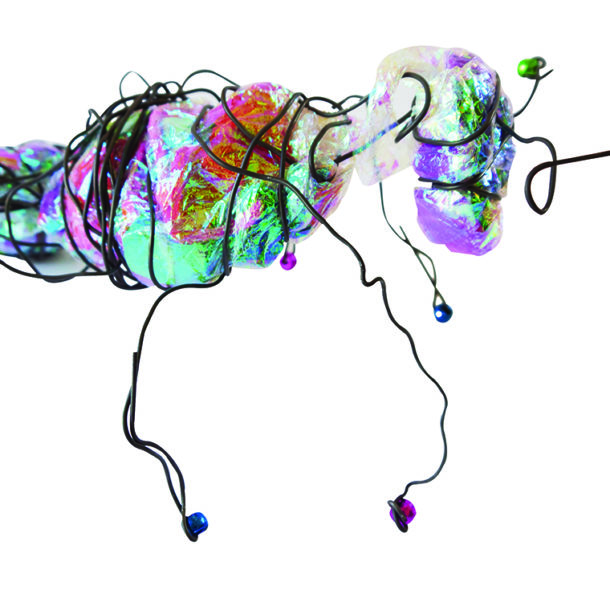
Begin by making a “body” shape from scrunched up paper. We sat our paper ball in iridescent paper, ready to be wrapped
Step 2
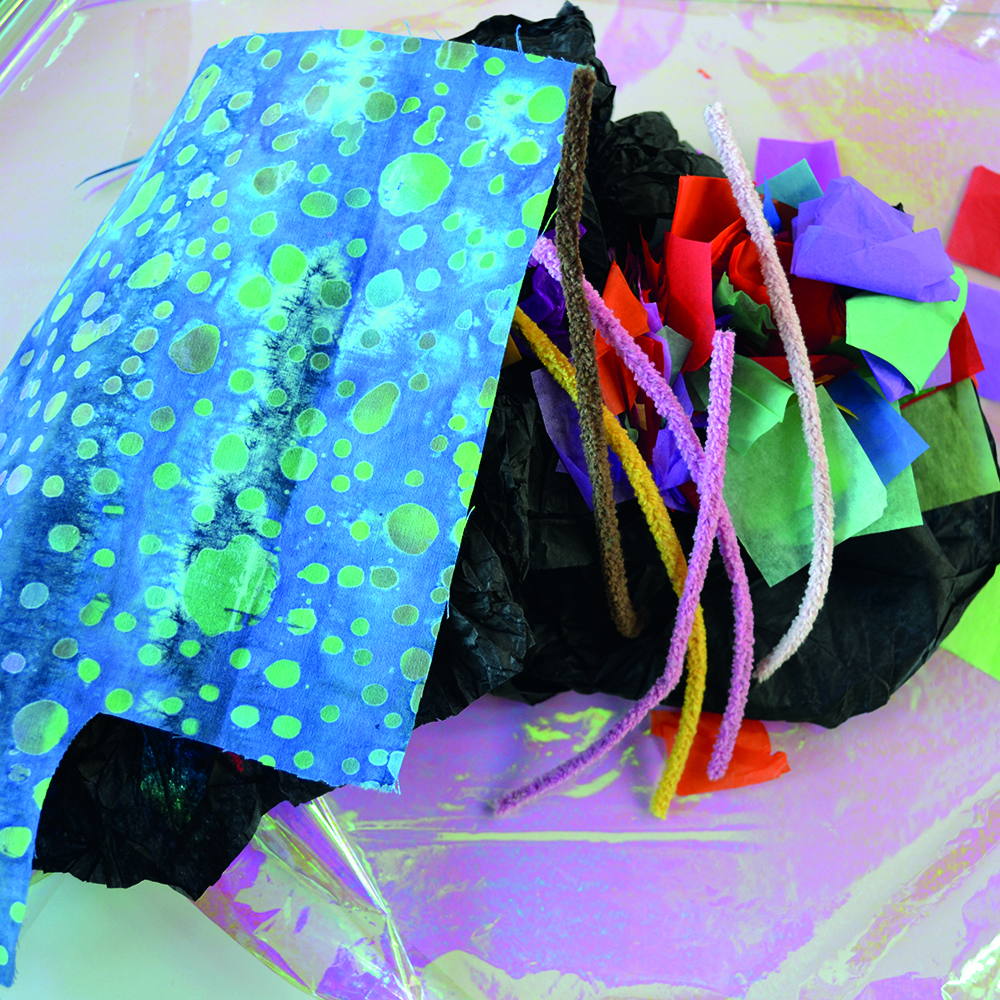
Then collect a number of materials to which you are attracted. Don’t think too hard – work intuitively.
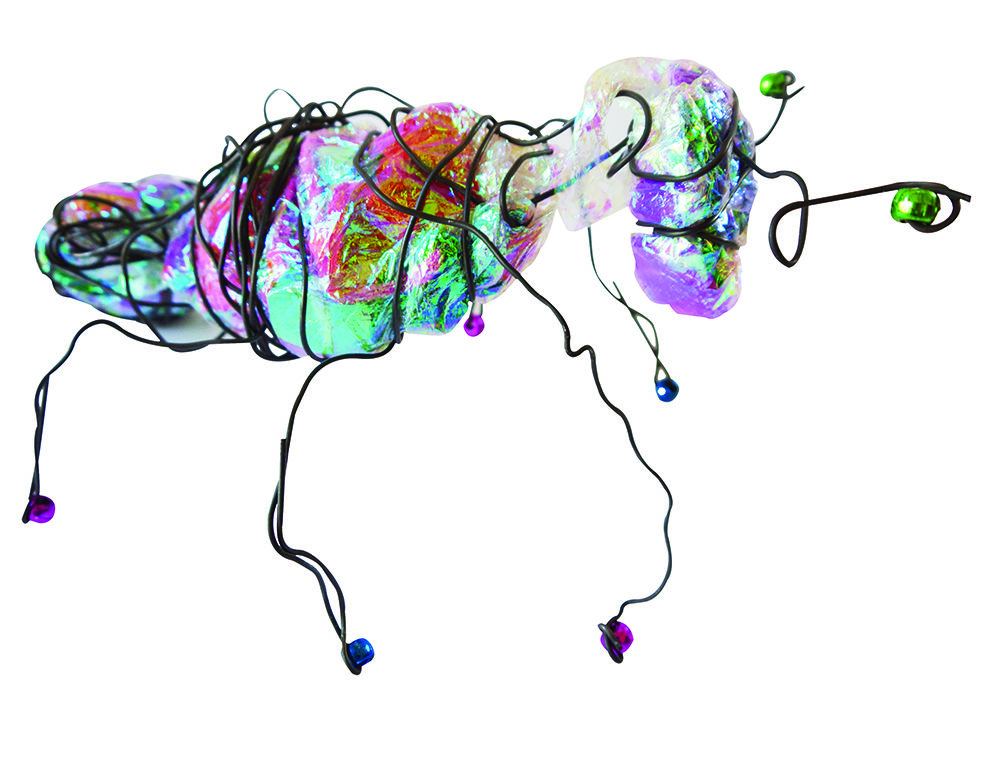
Wrap the paper ball and the collage materials in translucent paper – enabling the varied colours and textures to shine through. Use the wire modelling rods to tie the scrunched materials into a thorax shape.
Step 3
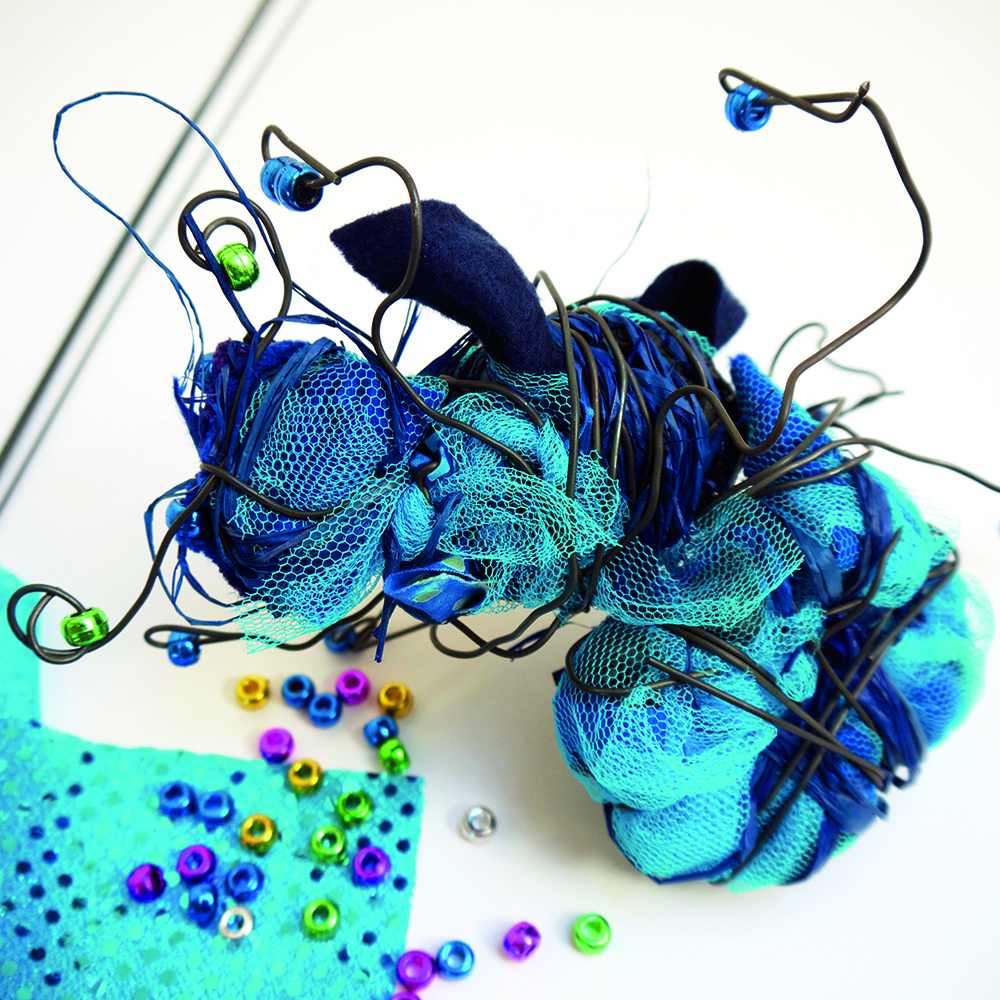
Make a second and third ball of materials for the head and tail. Connect them with wire, and add more wires for legs and antennas. Finally slide pony beads on the wire ends and twist the wire back to stop them falling off.
Why not used coloured wire on your model?
METHOD 2:
If you prefer to work in a slightly more analytical way you may prefer this method.
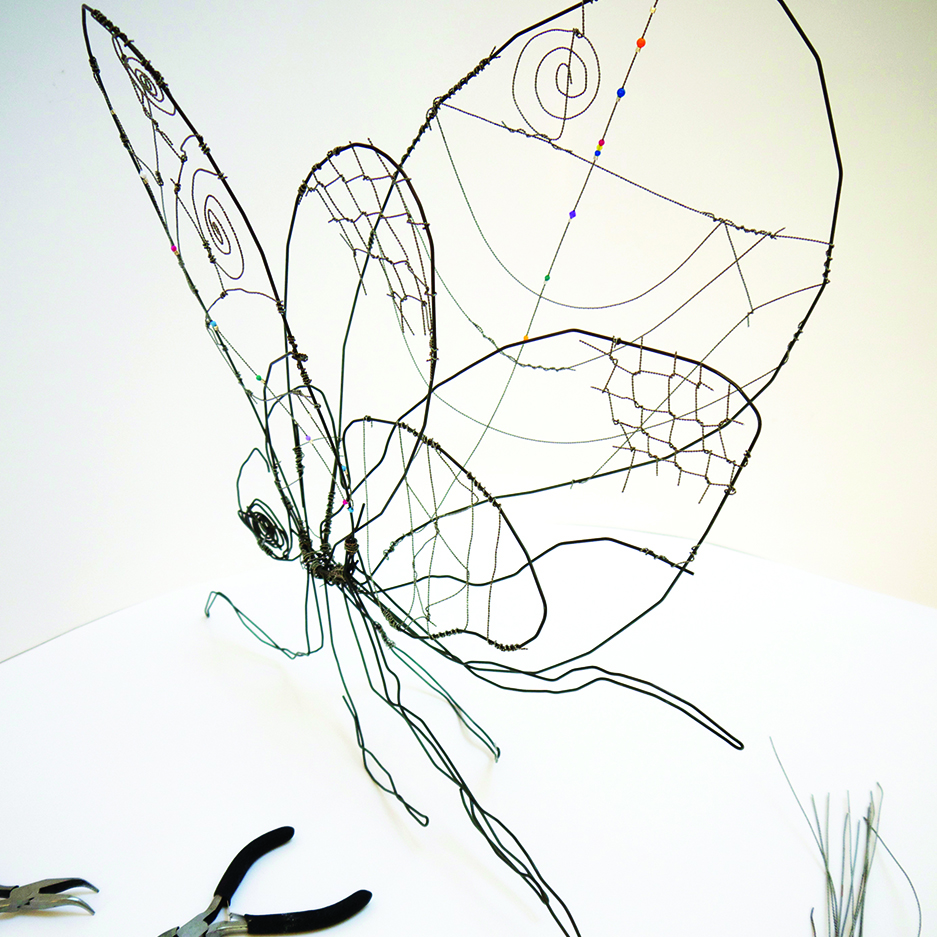
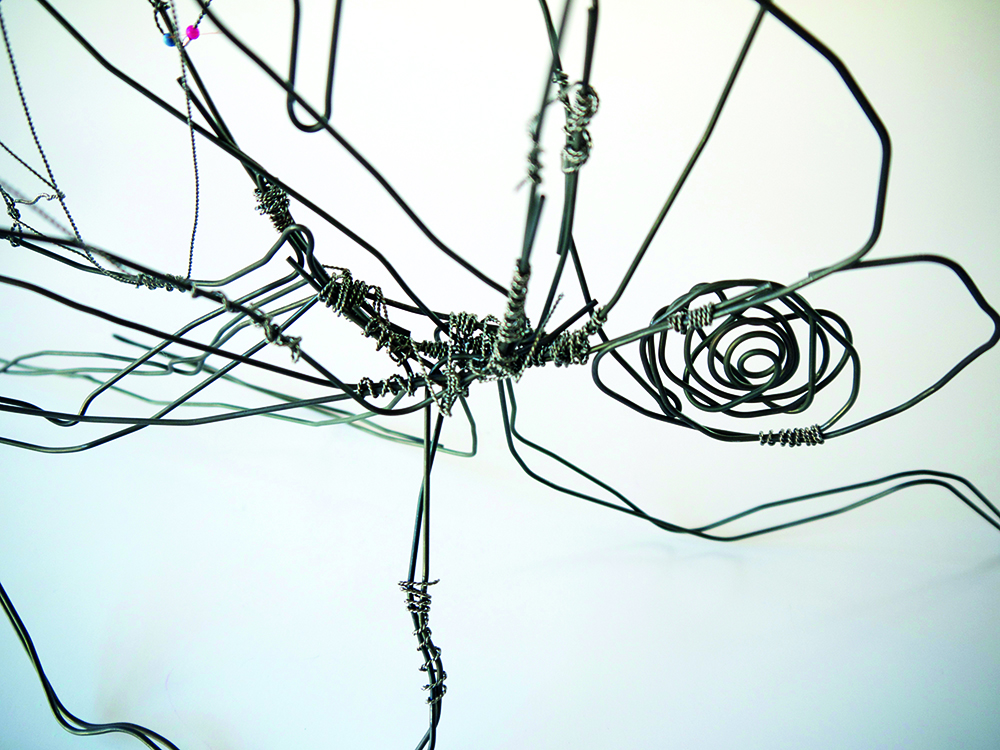
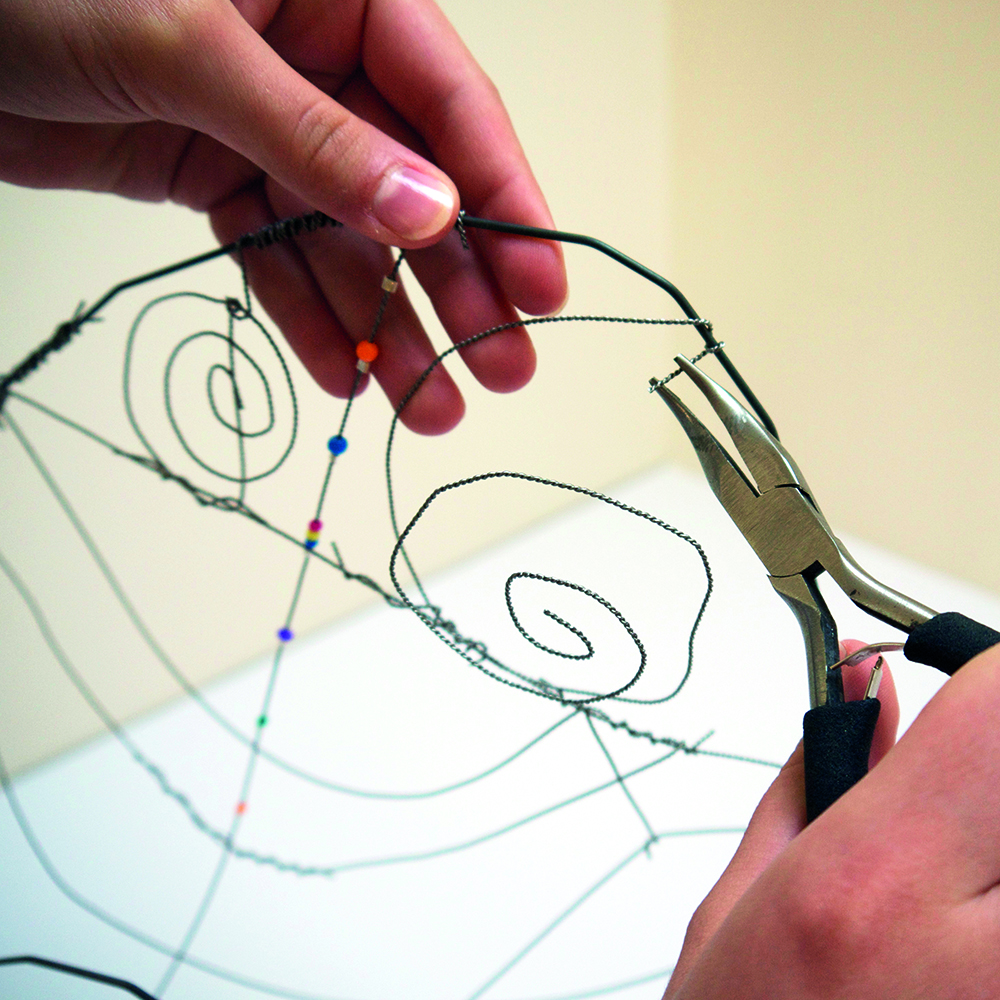
Start by making a simple linear shape using the wire modelling rods (we started by making two wings to give us the main body of the creature). Then use the Flexi-wire to fasten the larger shapes together – using pliers to help you make neat, strong ties.
Then move onto creating details and pattern by using the softer, Flexi-wire to in-fill the space. Continue until you have your finished shape.
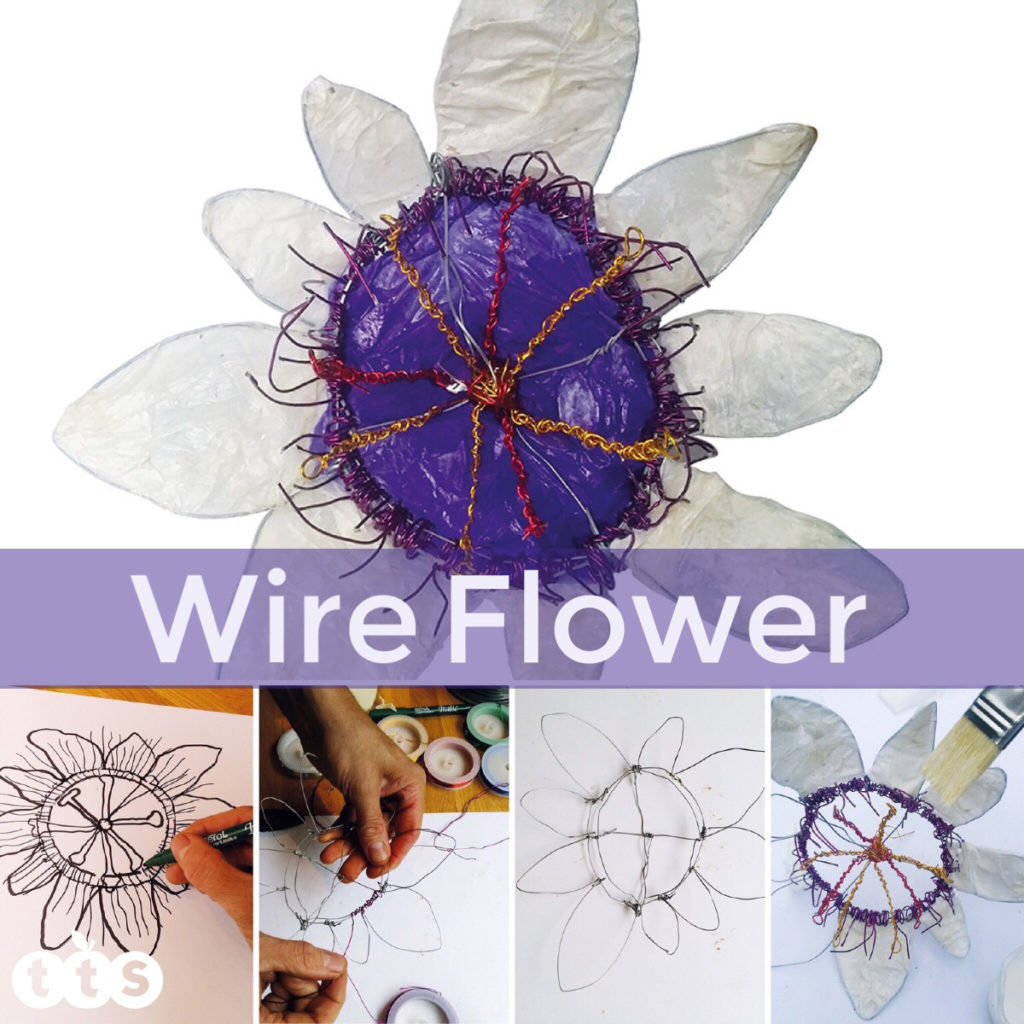
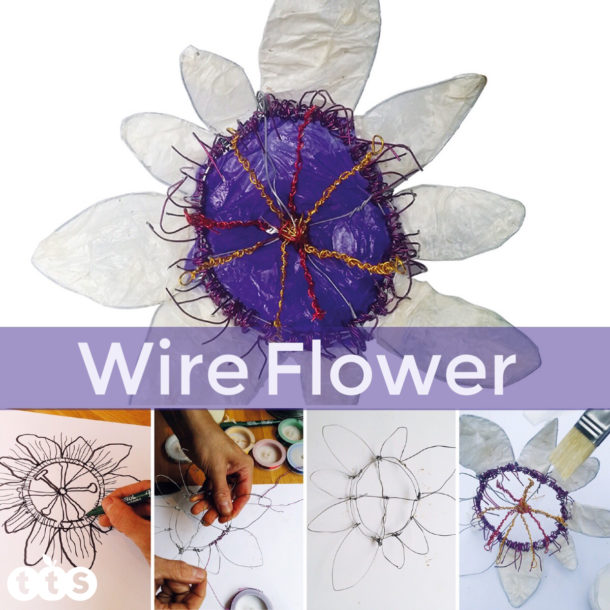
Find out how to make a wire flower in 5 simple steps in our blog post here.
With thanks to Access Art for creating this workshop.

